type
Post
status
Published
date
Nov 24, 2022
slug
image_process_3
summary
数字图像处理和计算机图形学中的混合模式(blend mode或mixing mode)用于确定两个图层如何相互混合。大多数应用程序中的默认混合模式只是简单地通过用顶部图层中存在的任何内容覆盖底部图层;因为每个像素都有着不同的数值,所以诞生了许多方法来混合两个图层。
tags
OpenCV
图像处理
Python
category
图像处理
icon
password
Property
Nov 24, 2022 12:48 PM
数字图像处理和计算机图形学中的混合模式(blend mode或mixing mode)用于确定两个图层如何相互混合。大多数应用程序中的默认混合模式只是简单地通过用顶部图层中存在的任何内容覆盖底部图层;因为每个像素都有着不同的数值,所以诞生了许多方法来混合两个图层。
色彩空间如未特殊注明均为RGB色彩空间,为了方便计算与描述,先对一些符号进行定义:
符号 | 含义 |
基色(原始图像) | |
混合色(混合图像) | |
结果色(结果图像) | |
混合色透明度 | |
基色在各通道的分量,如果是在RGB色彩空间则 | |
混合色在各通道的分量,如果是在RGB色彩空间则 | |
对于颜色分量取分量值小的一项,对于颜色整体取r,g,b三通道的和最小的一项 | |
对于颜色分量取分量值大的一项,对于颜色整体取r,g,b三通道的和大的一项 |
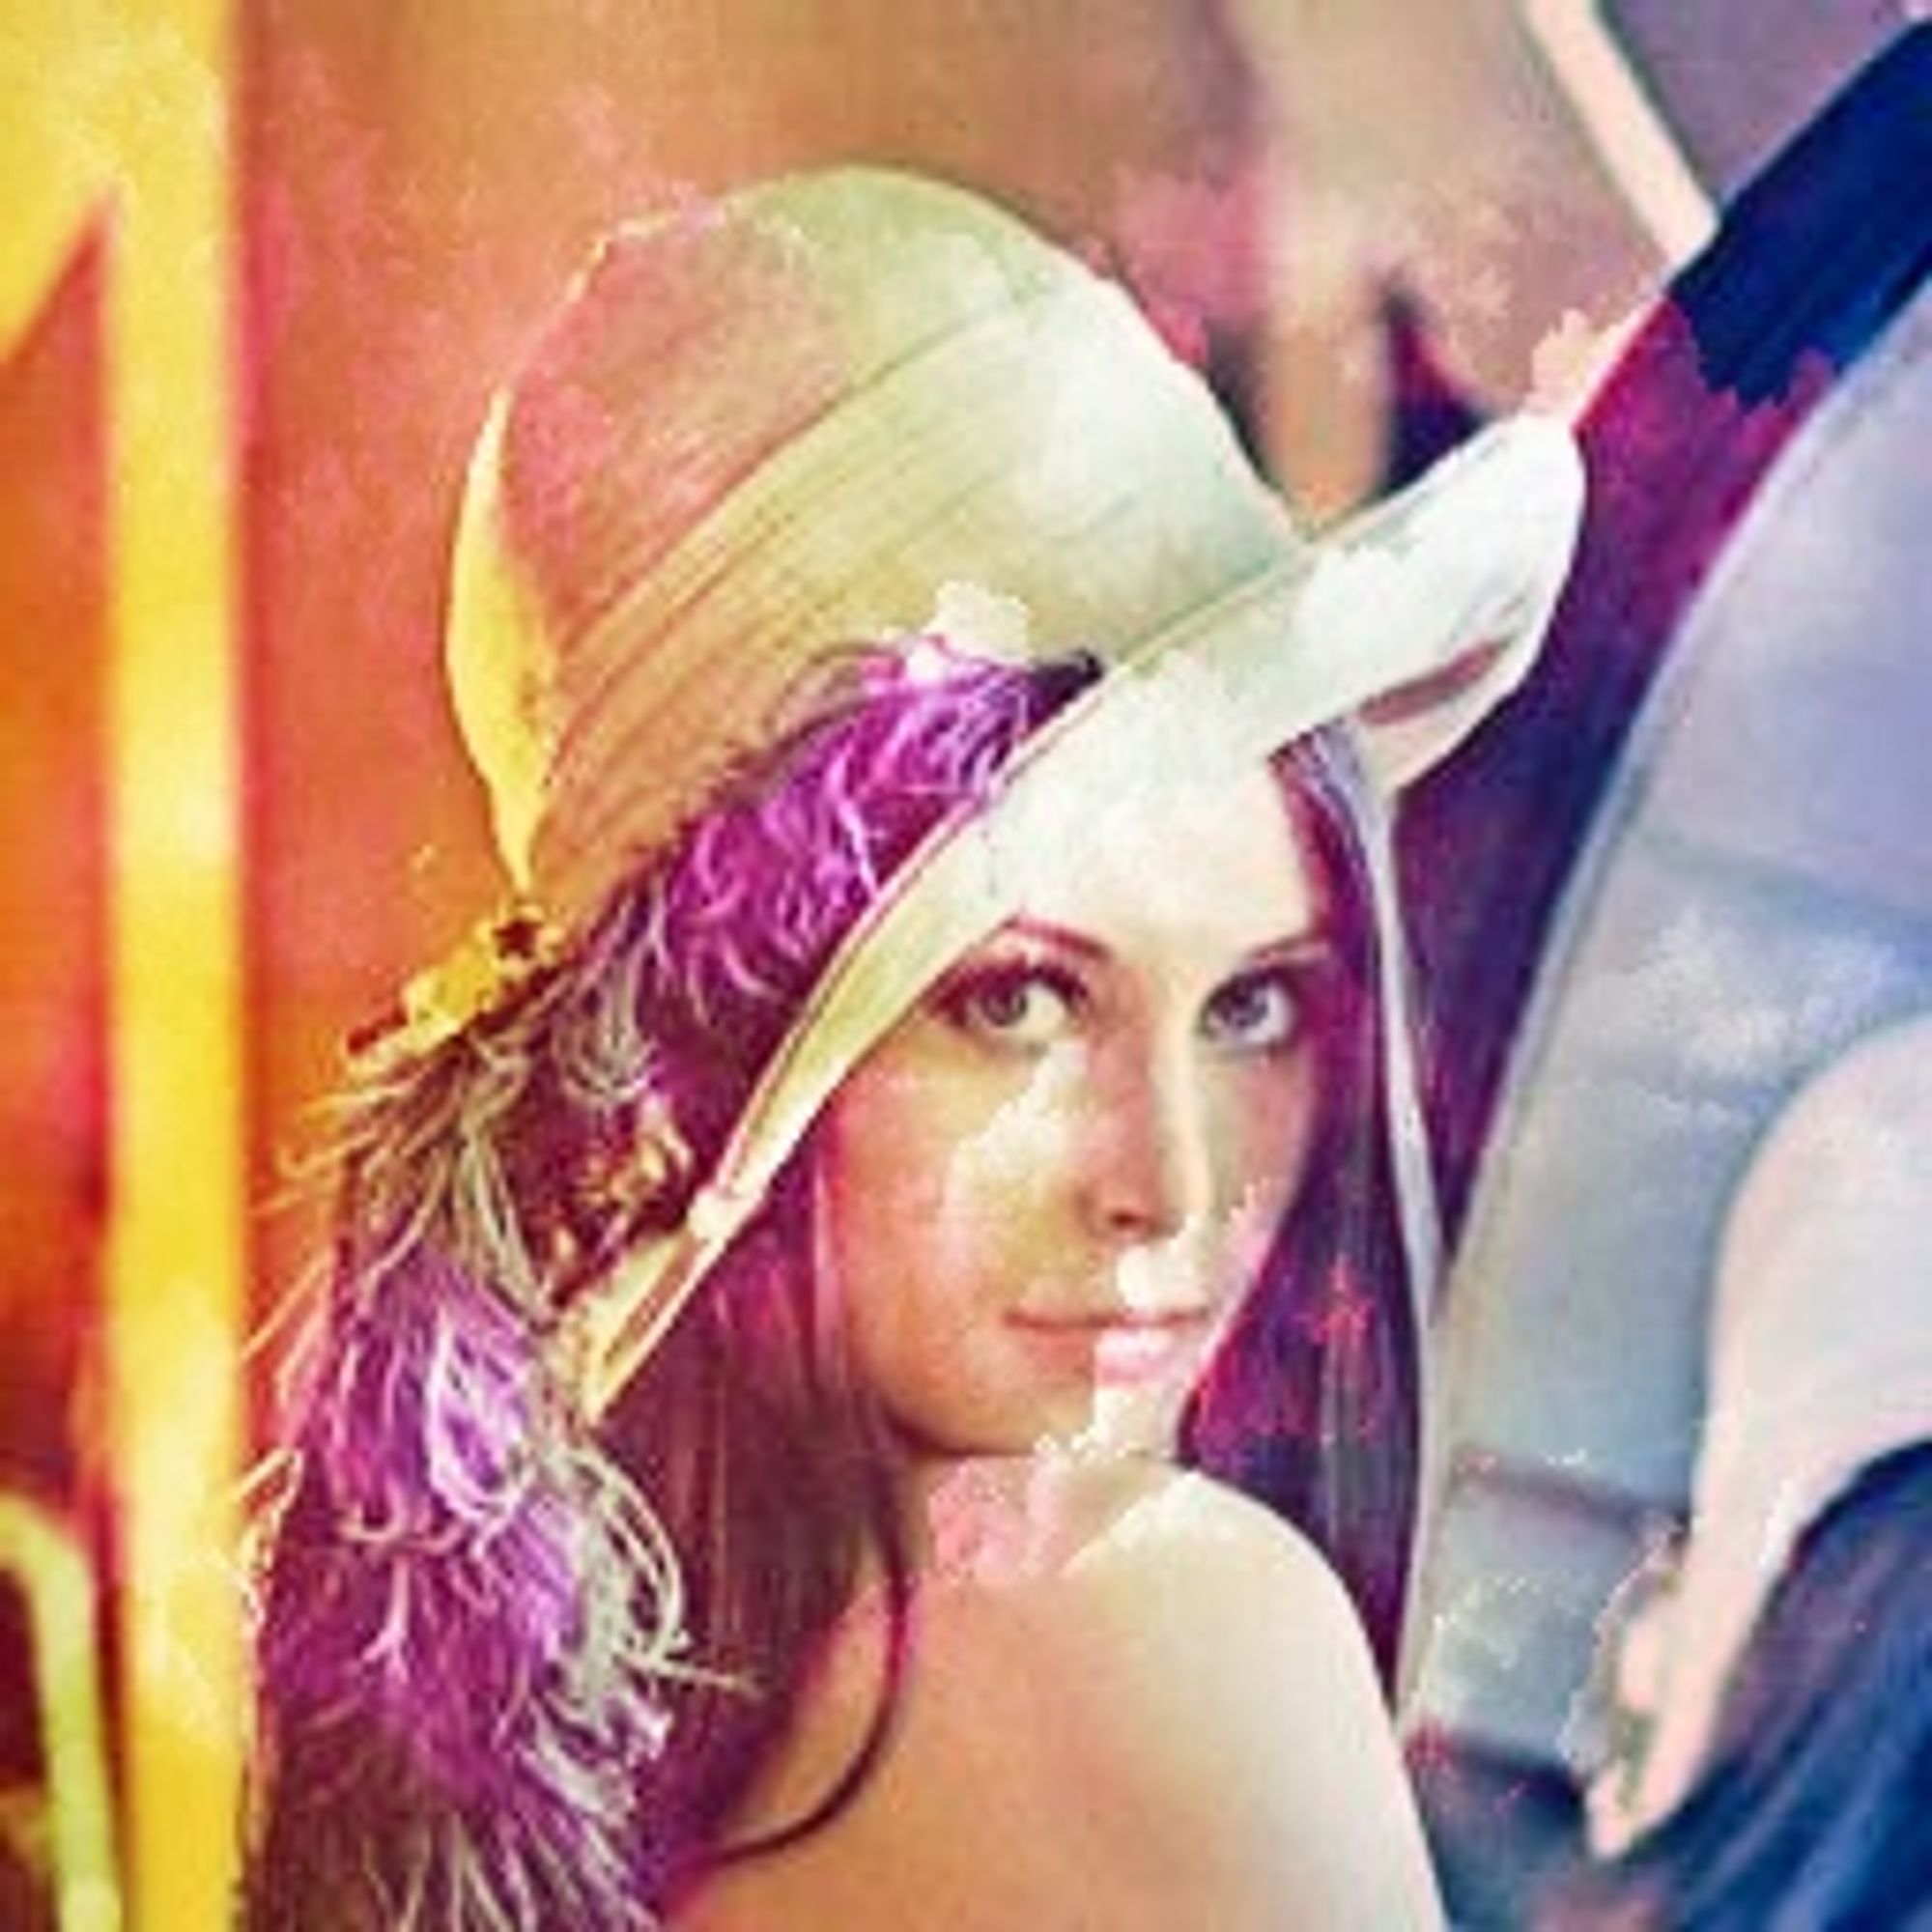
正常模式(Normal)
这是仅使用混合图像的标准混合模式,不将其颜色与其下方的图像混合:
在基色存在不透明度时,混合的运算方式是:
代码实现
注意:在代码实现时img1代表了混合色,img2代表基色,请注意与公式中的、进行区分(为代码中的img2,为代码中的img1)。下列所有代码中的图片大小相同,如需要大小不同的图片混合请自行处理。
def Normal(img1,img2,alpha=.5):
    res = alpha * img2 + (1 - alpha) * img1
    return res.astype(np.uint8)
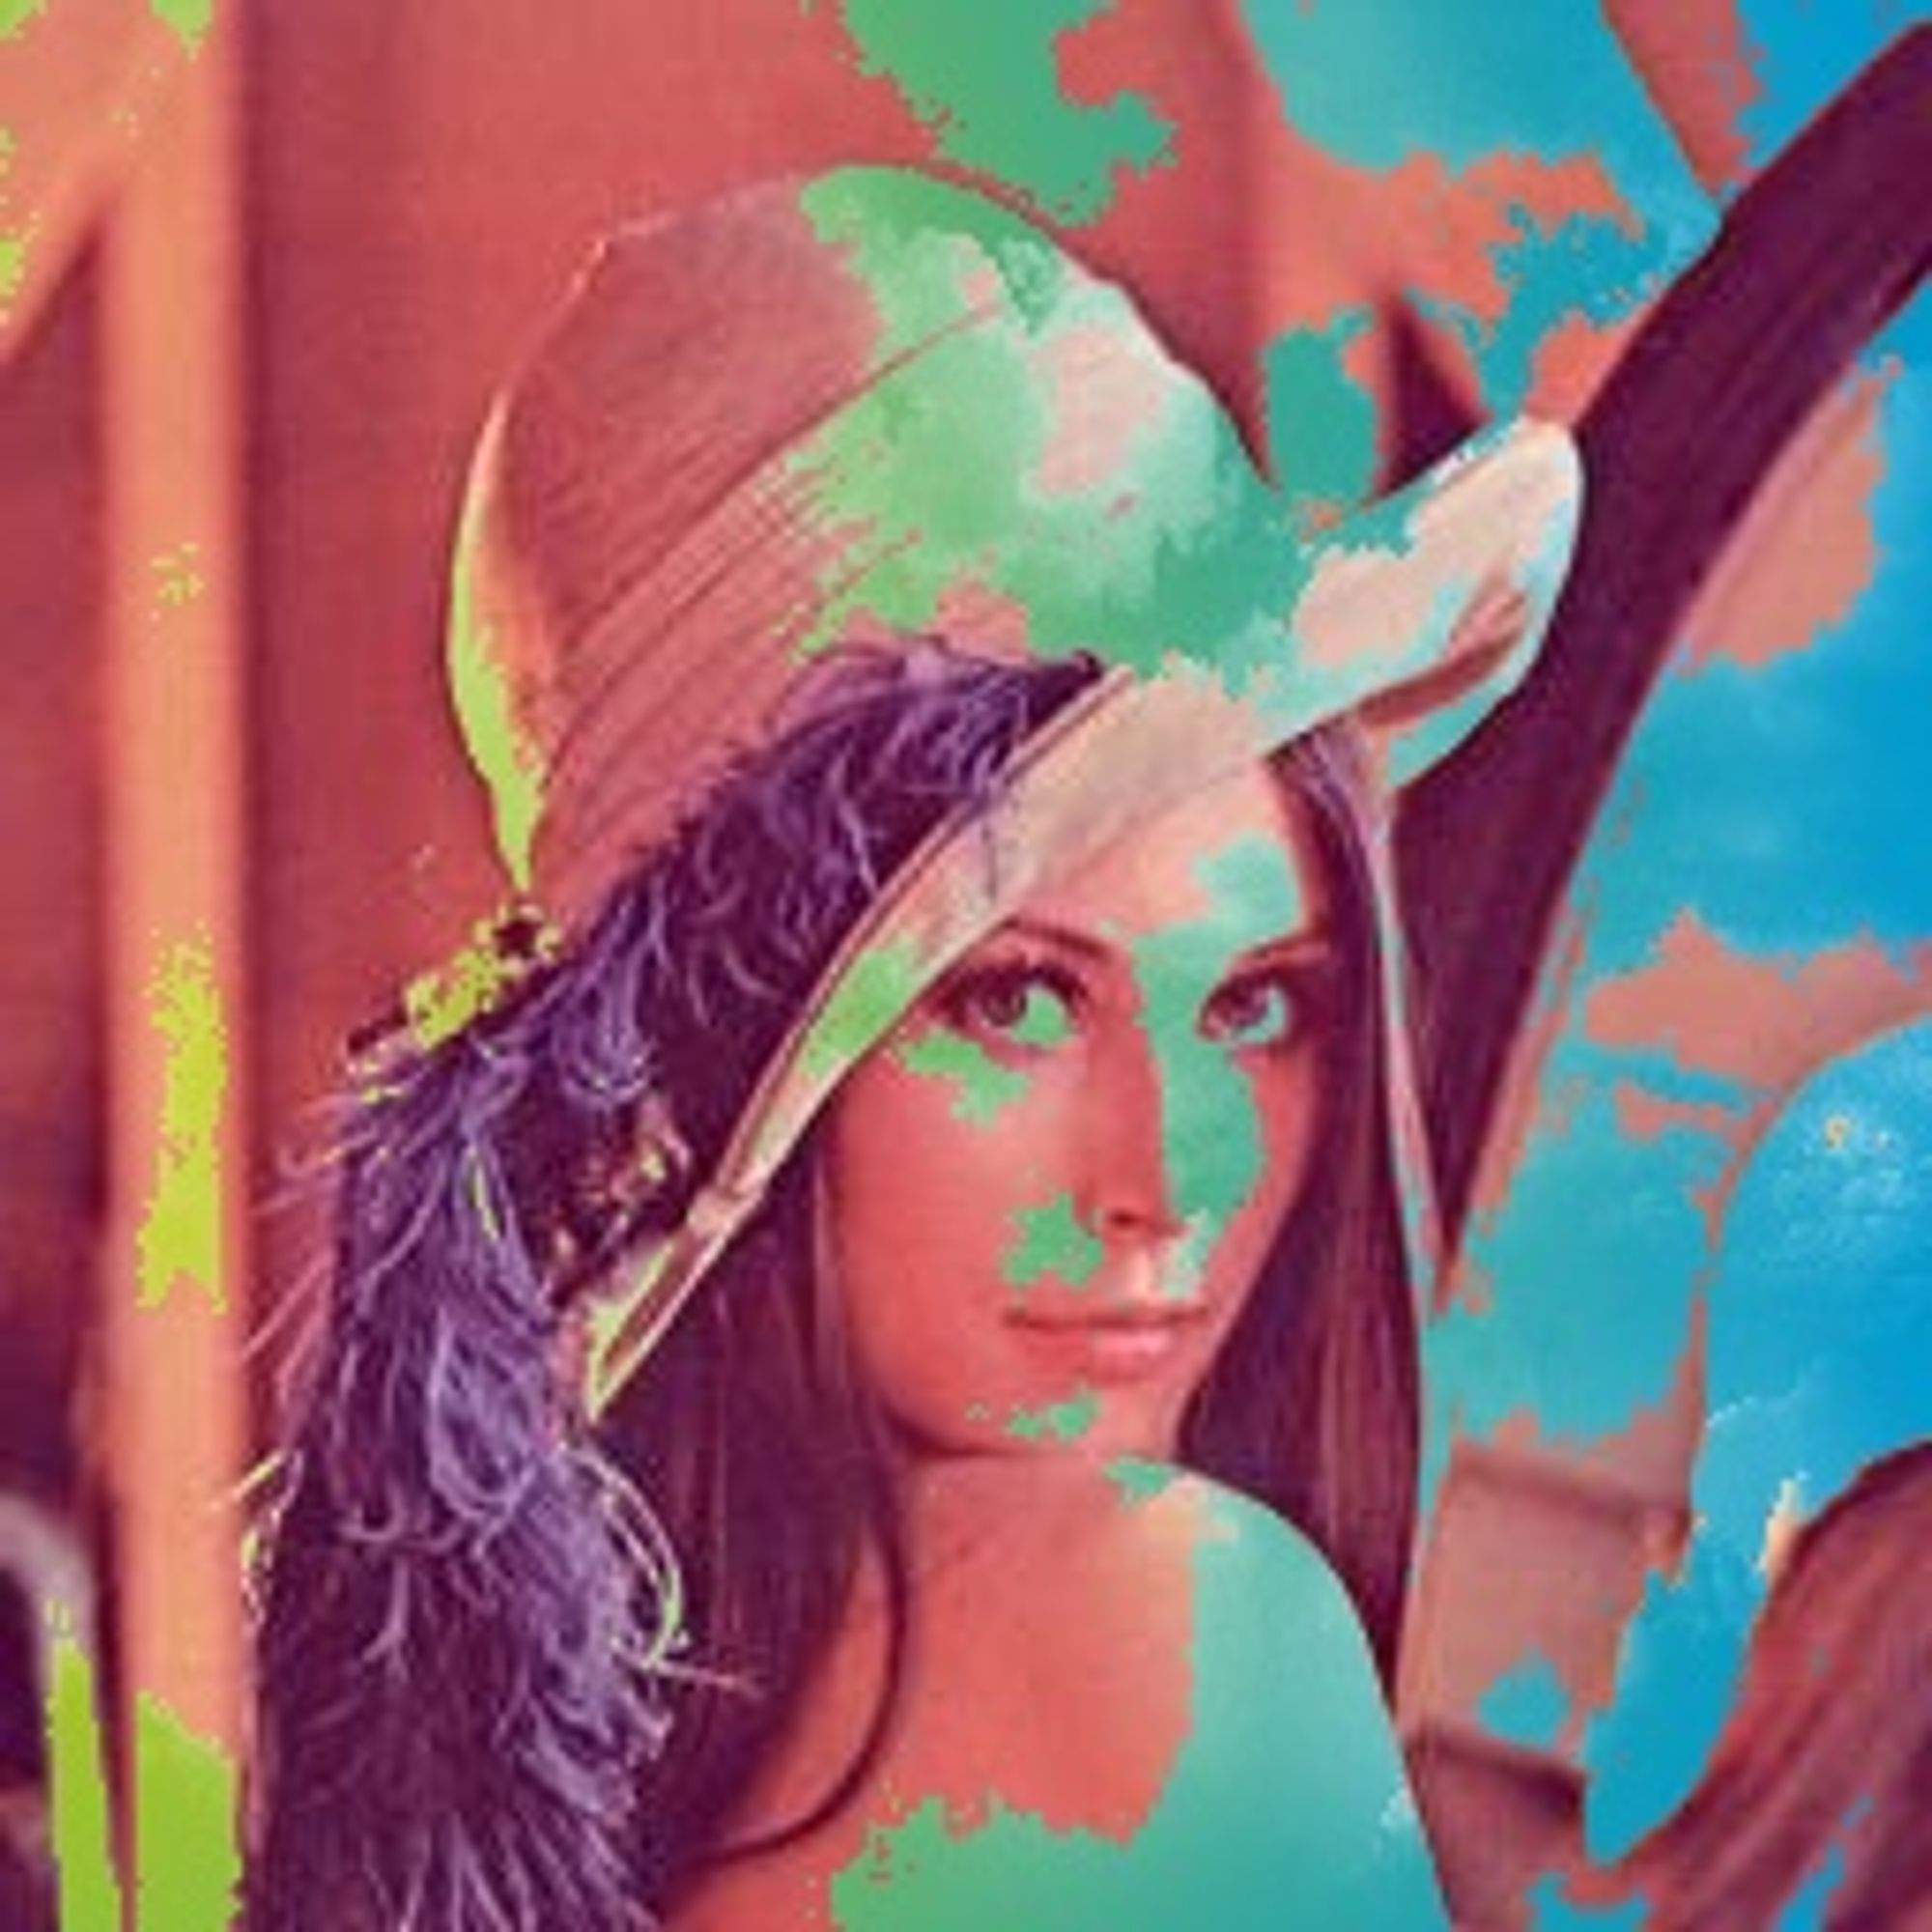
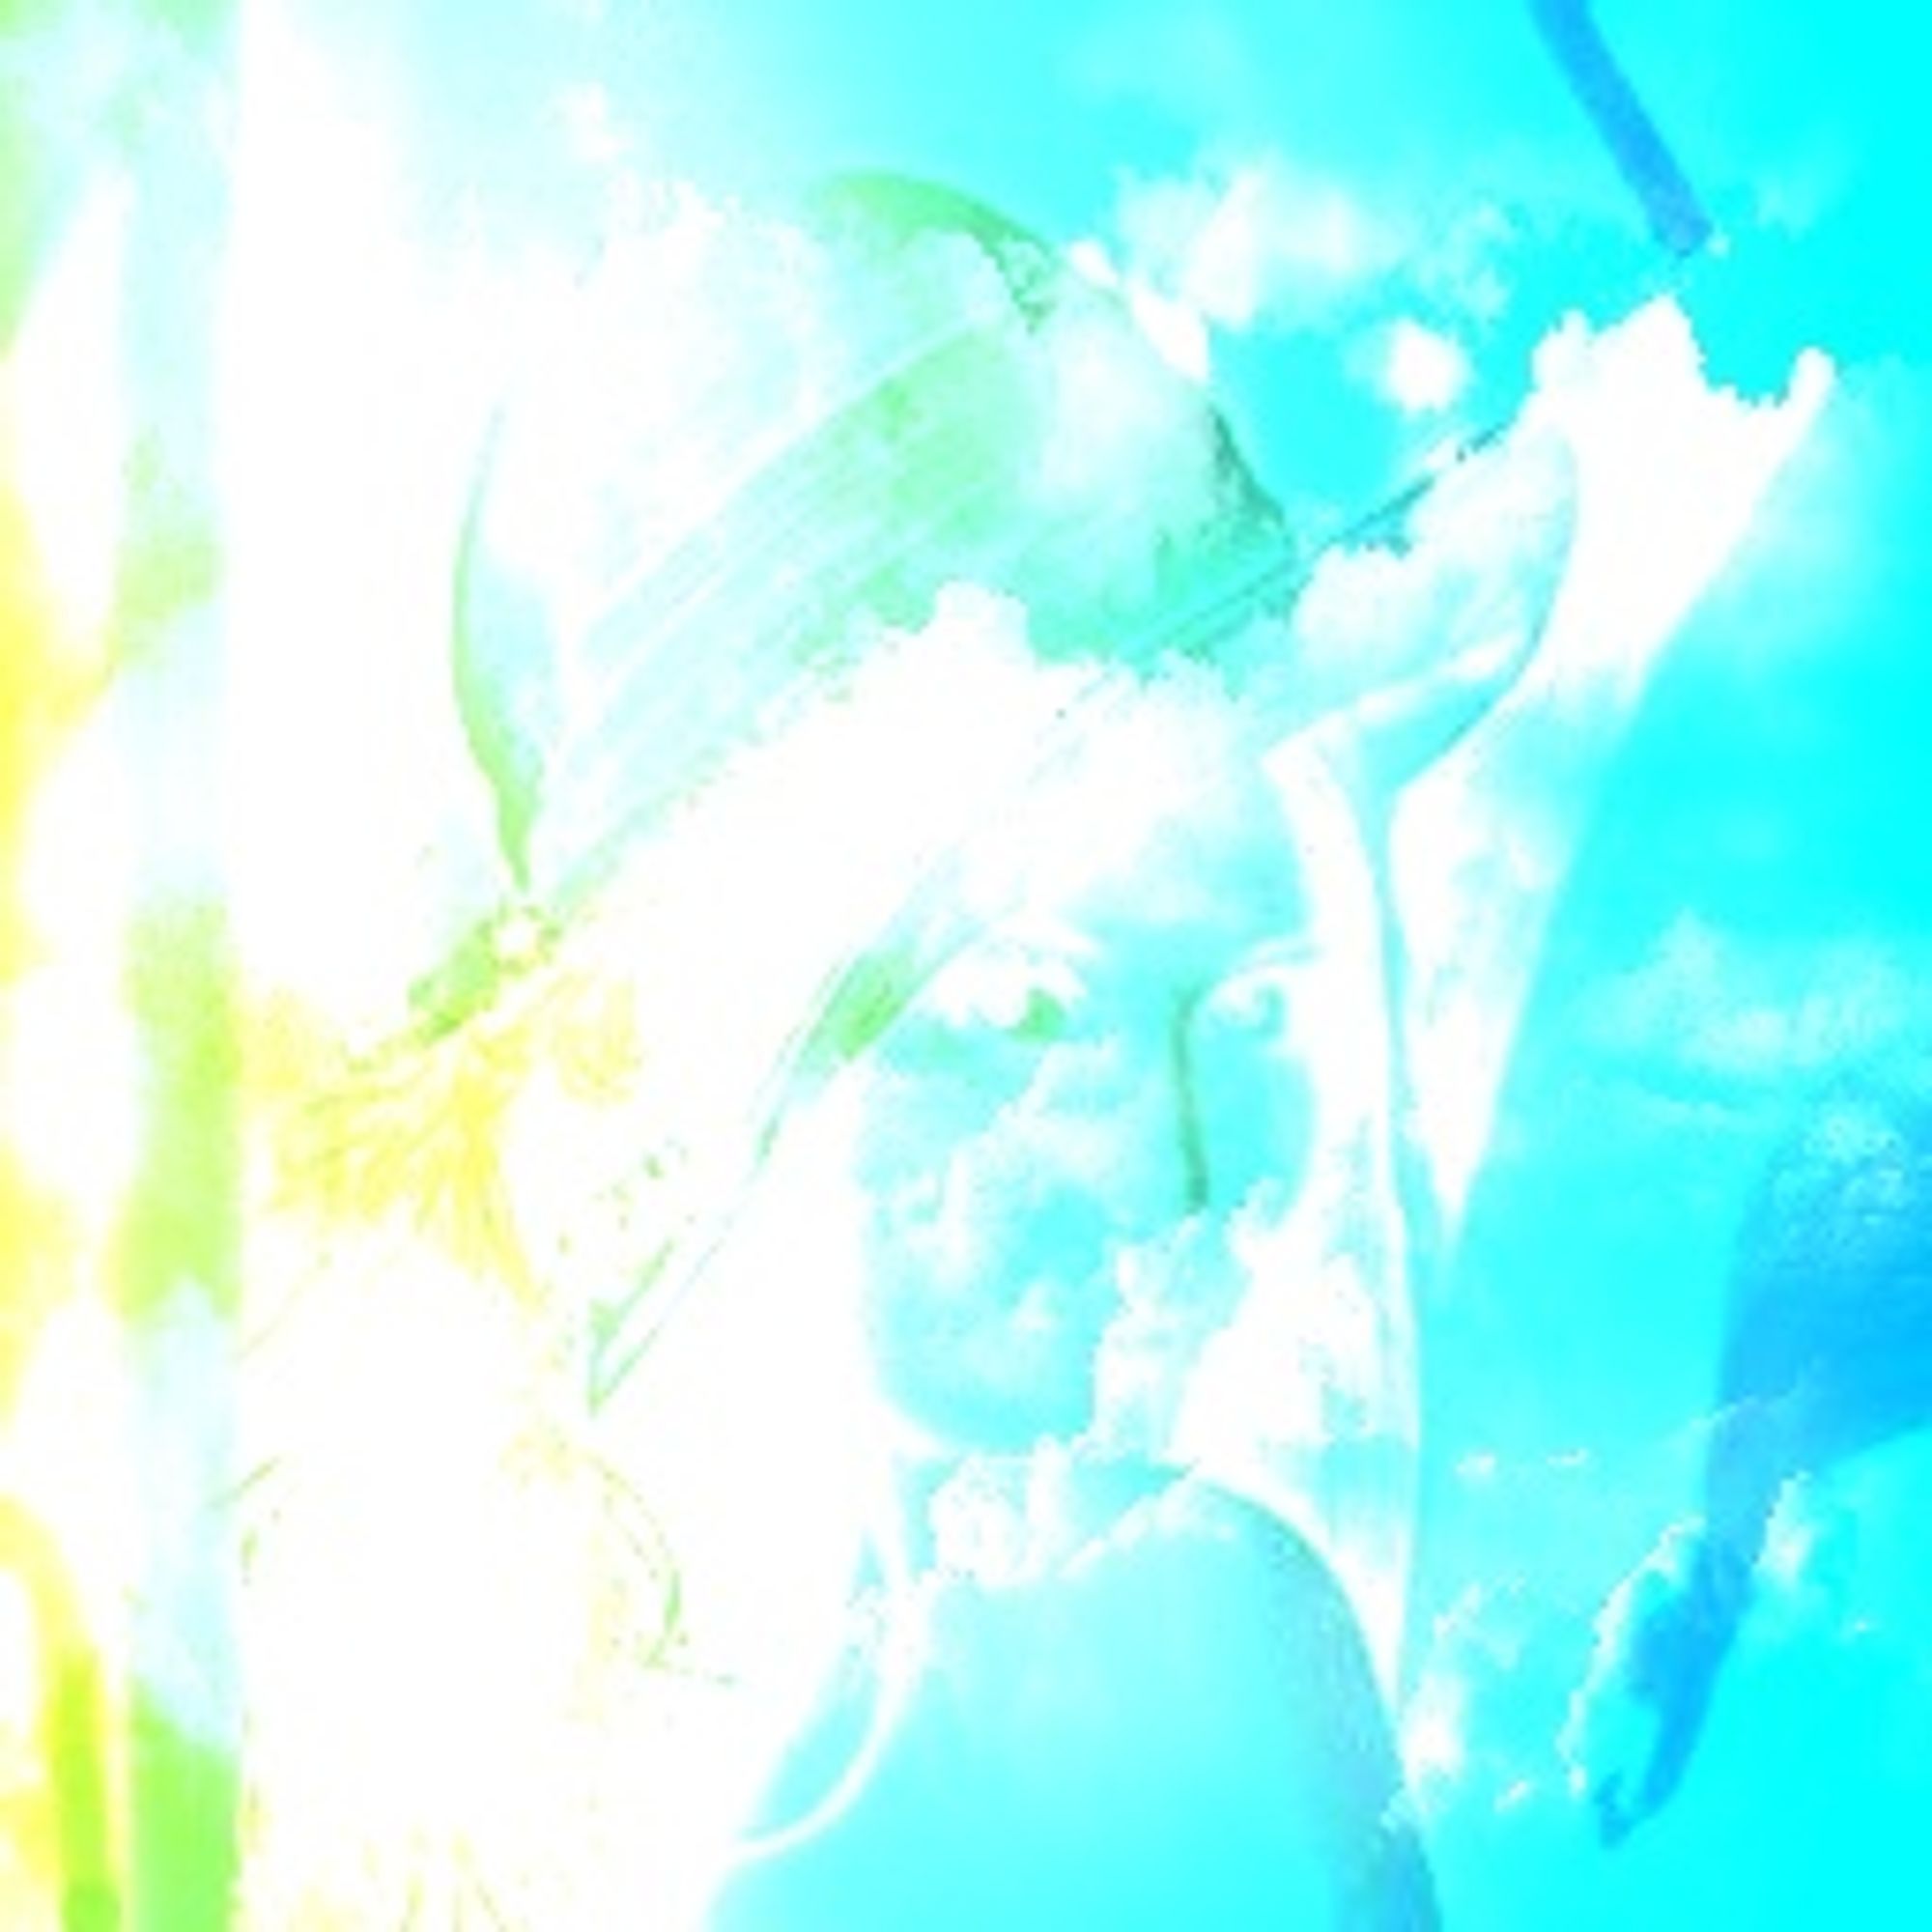
效果展示
溶解模式(Dissolve)
溶解模式从两个图层中获取随机像素。混合图像不透明度大于原始图像,大部分像素取自混合图像,而低不透明度则大多数像素取自原始图像。此混合模式不使用抗锯齿,因此图片可能看起来粗糙。
其中,。
代码实现
def Dissolve(img1,img2,alpha=.5):
    h,w = img1.shape[:-1]
    sample = np.random.uniform(size=(h,w))
    sample[np.where(sample>1-alpha)] = 1
    sample[np.where(sample<=1-alpha)] = 0
    sample = sample.reshape([h,w,1]).astype(np.uint8)
    res = img1 * sample + img2 * (1 - sample)
    return res.astype(np.uint8)
效果展示

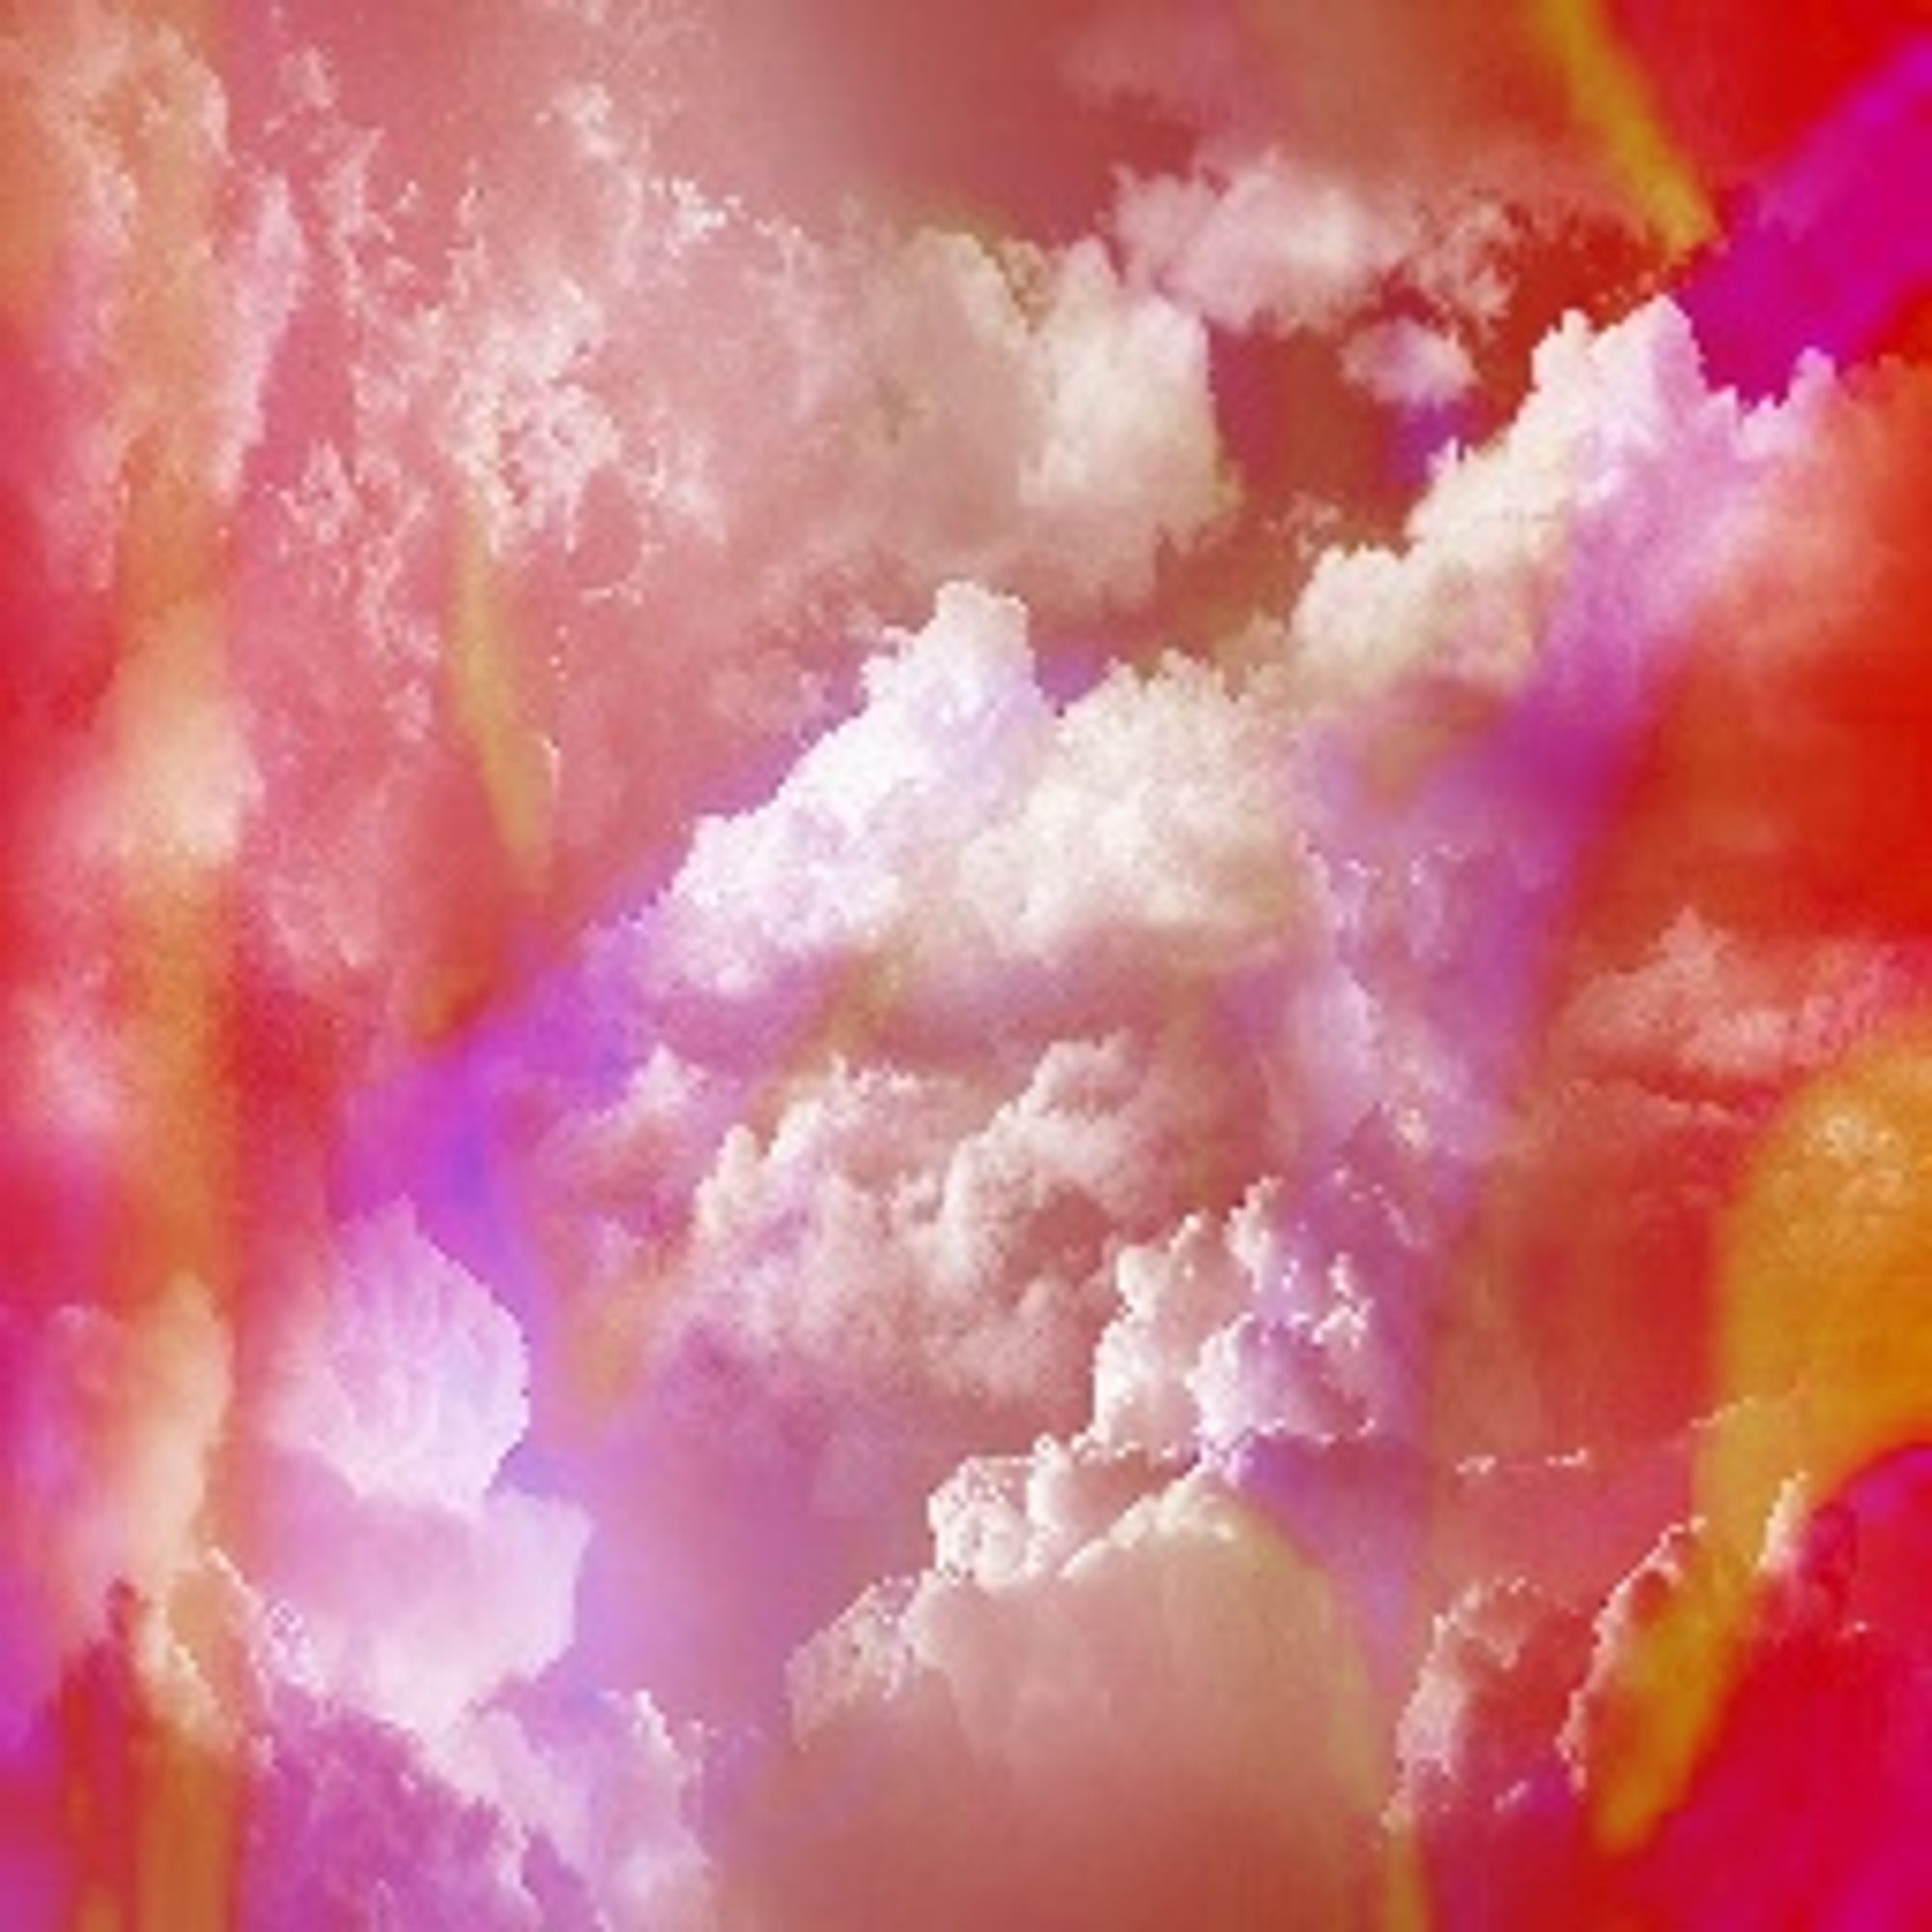
正片叠底(Multiply)
正片叠底模式将混合图像中每个像素的 RGB 通道值从 0 到 1,并将它们与原始图像相应像素的值相乘。 任何一层比黑色亮的地方,合成更暗; 由于每个值都小于 1,因此它们的乘积将小于每个大于零的初始值。
代码实现
def Multiply(img1,img2):#正片叠底
    img1 = img1 / 255.0
    img2 = img2 / 255.0
    res = np.multiply(img1,img2)
    res = (res*255).astype(np.uint8)
    return res
效果展示
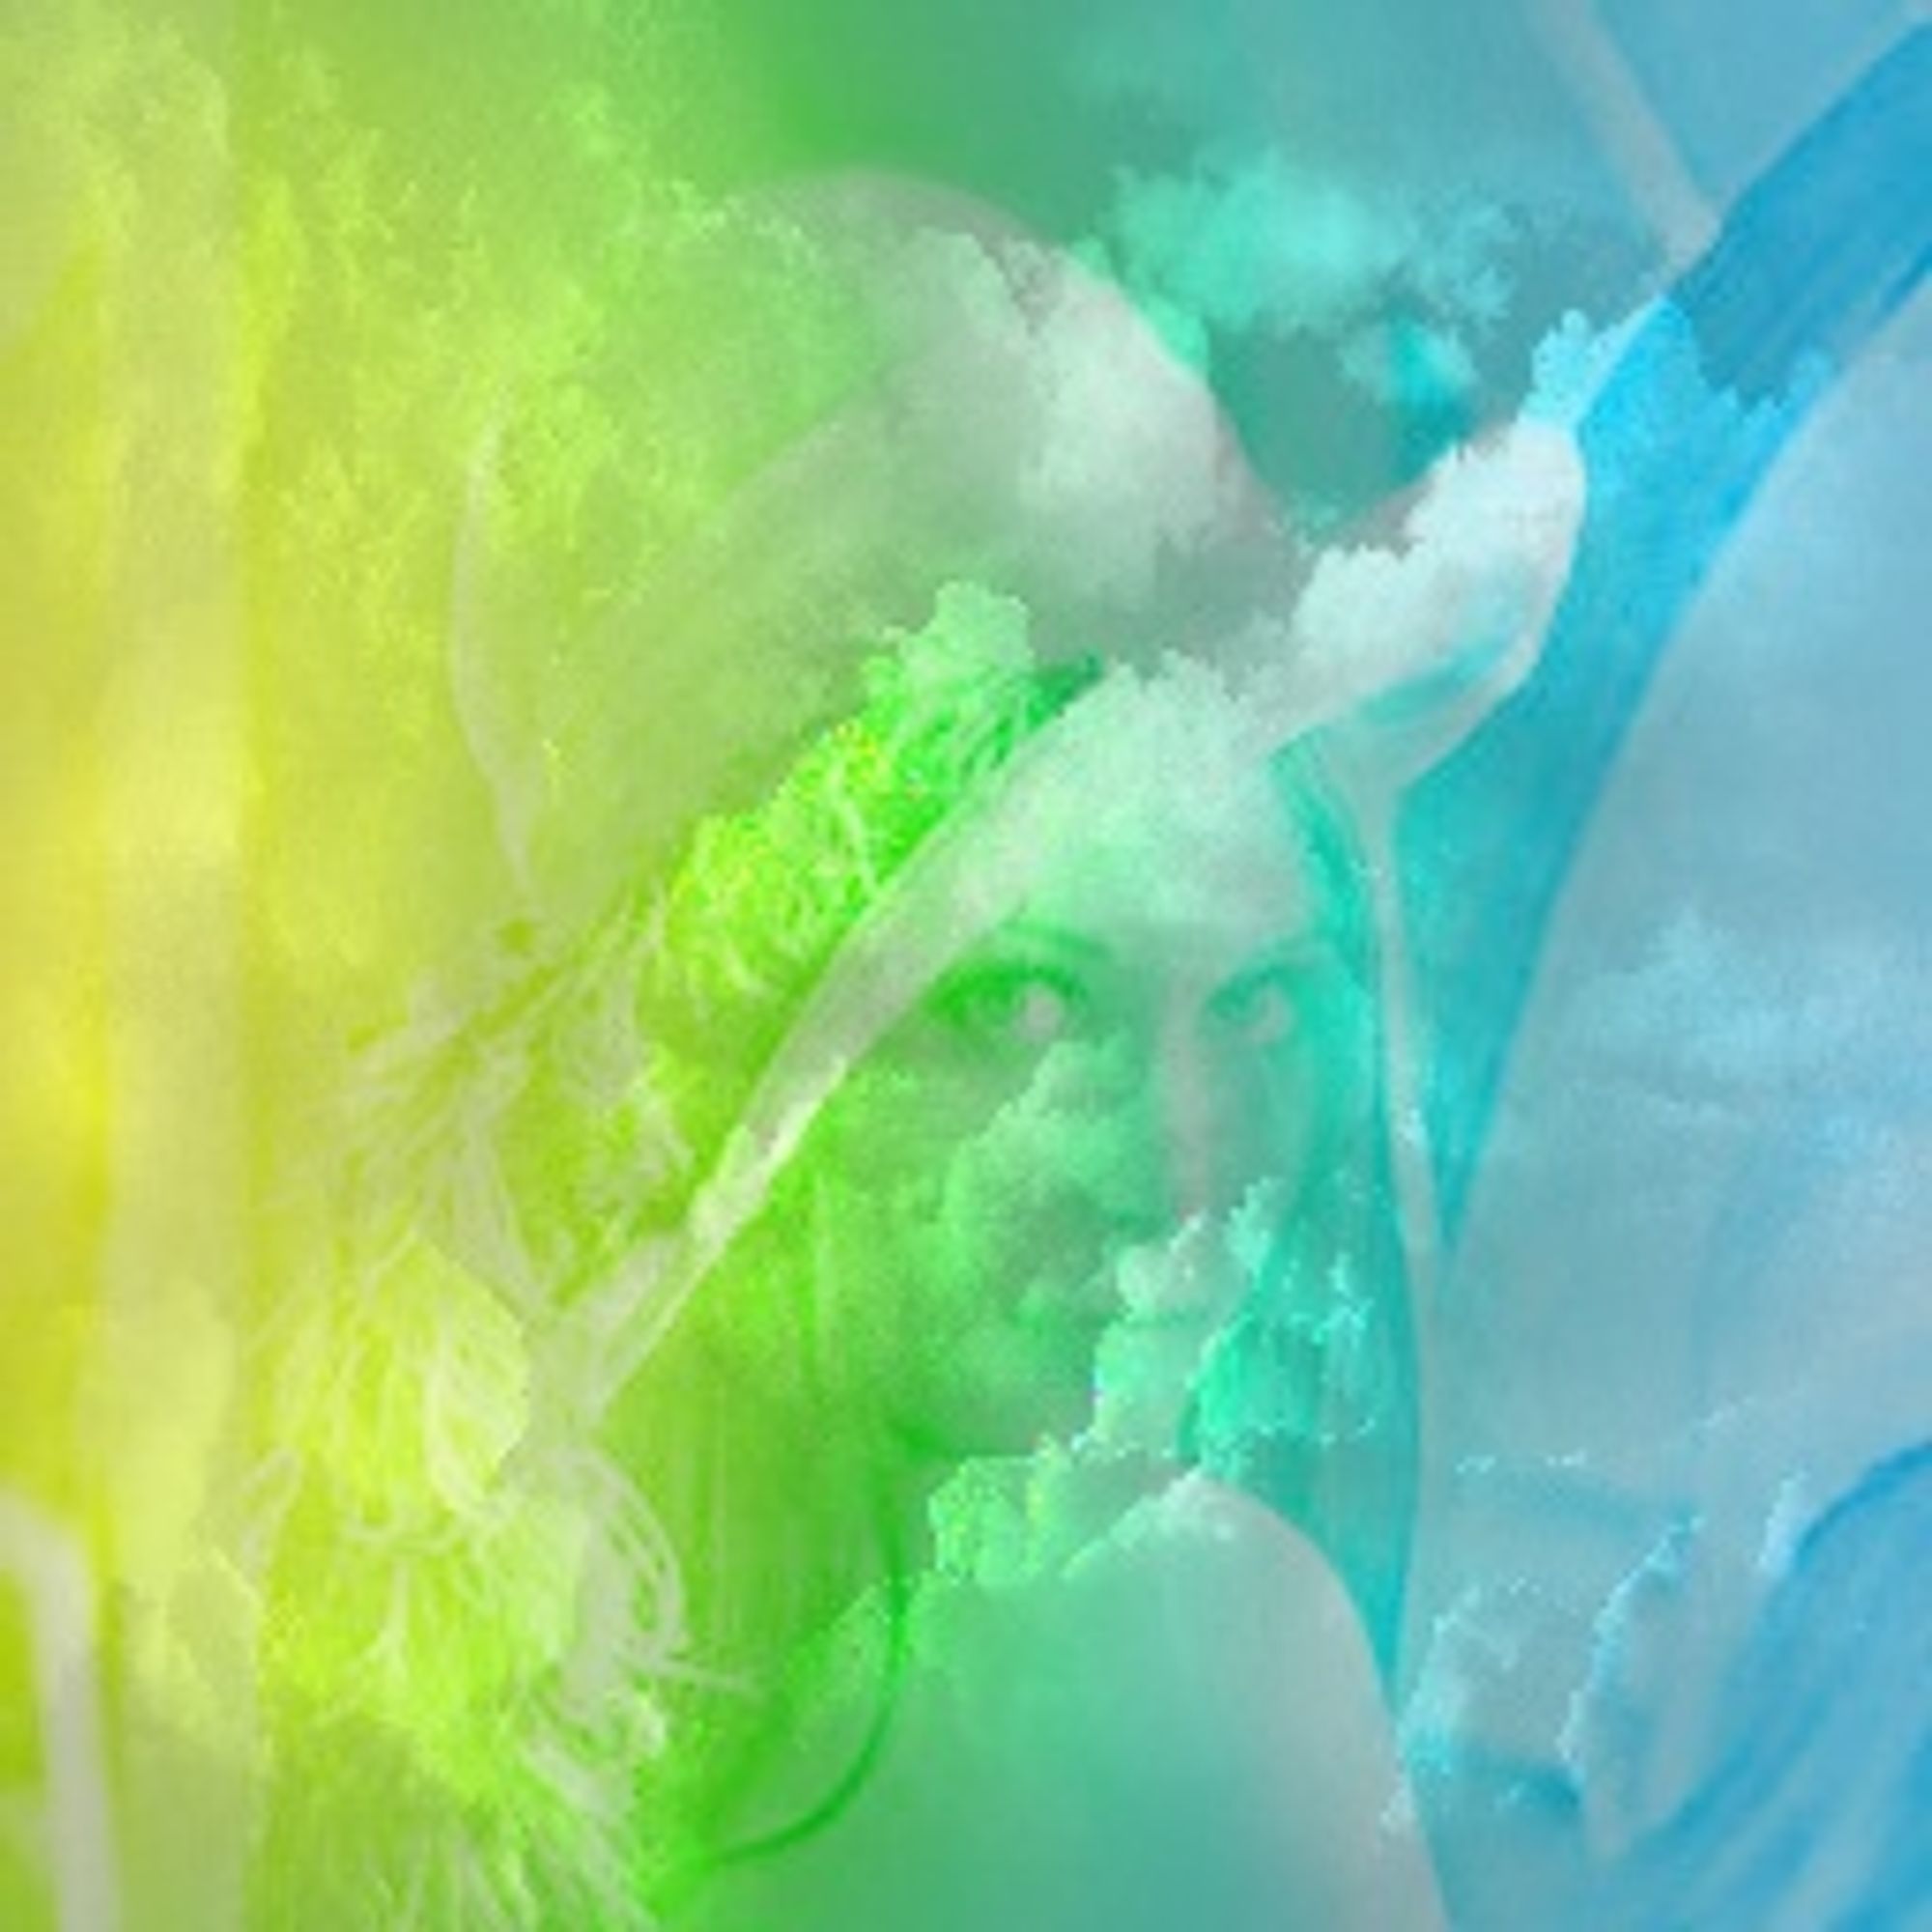
滤色(Screen)
使用滤色混合模式,两个图层中的像素值会被反转、相乘,然后再次反转。 结果与正片叠底相反:任何一层比白色更暗的地方,合成更亮。
代码实现
def Screen(img1,img2):#滤色
    img1 = img1 / 255.0
    img2 = img2 / 255.0
    res = 1 - np.multiply((1 - img1),(1 - img2))
    res = (res*255).astype(np.uint8)
    return res
效果展示
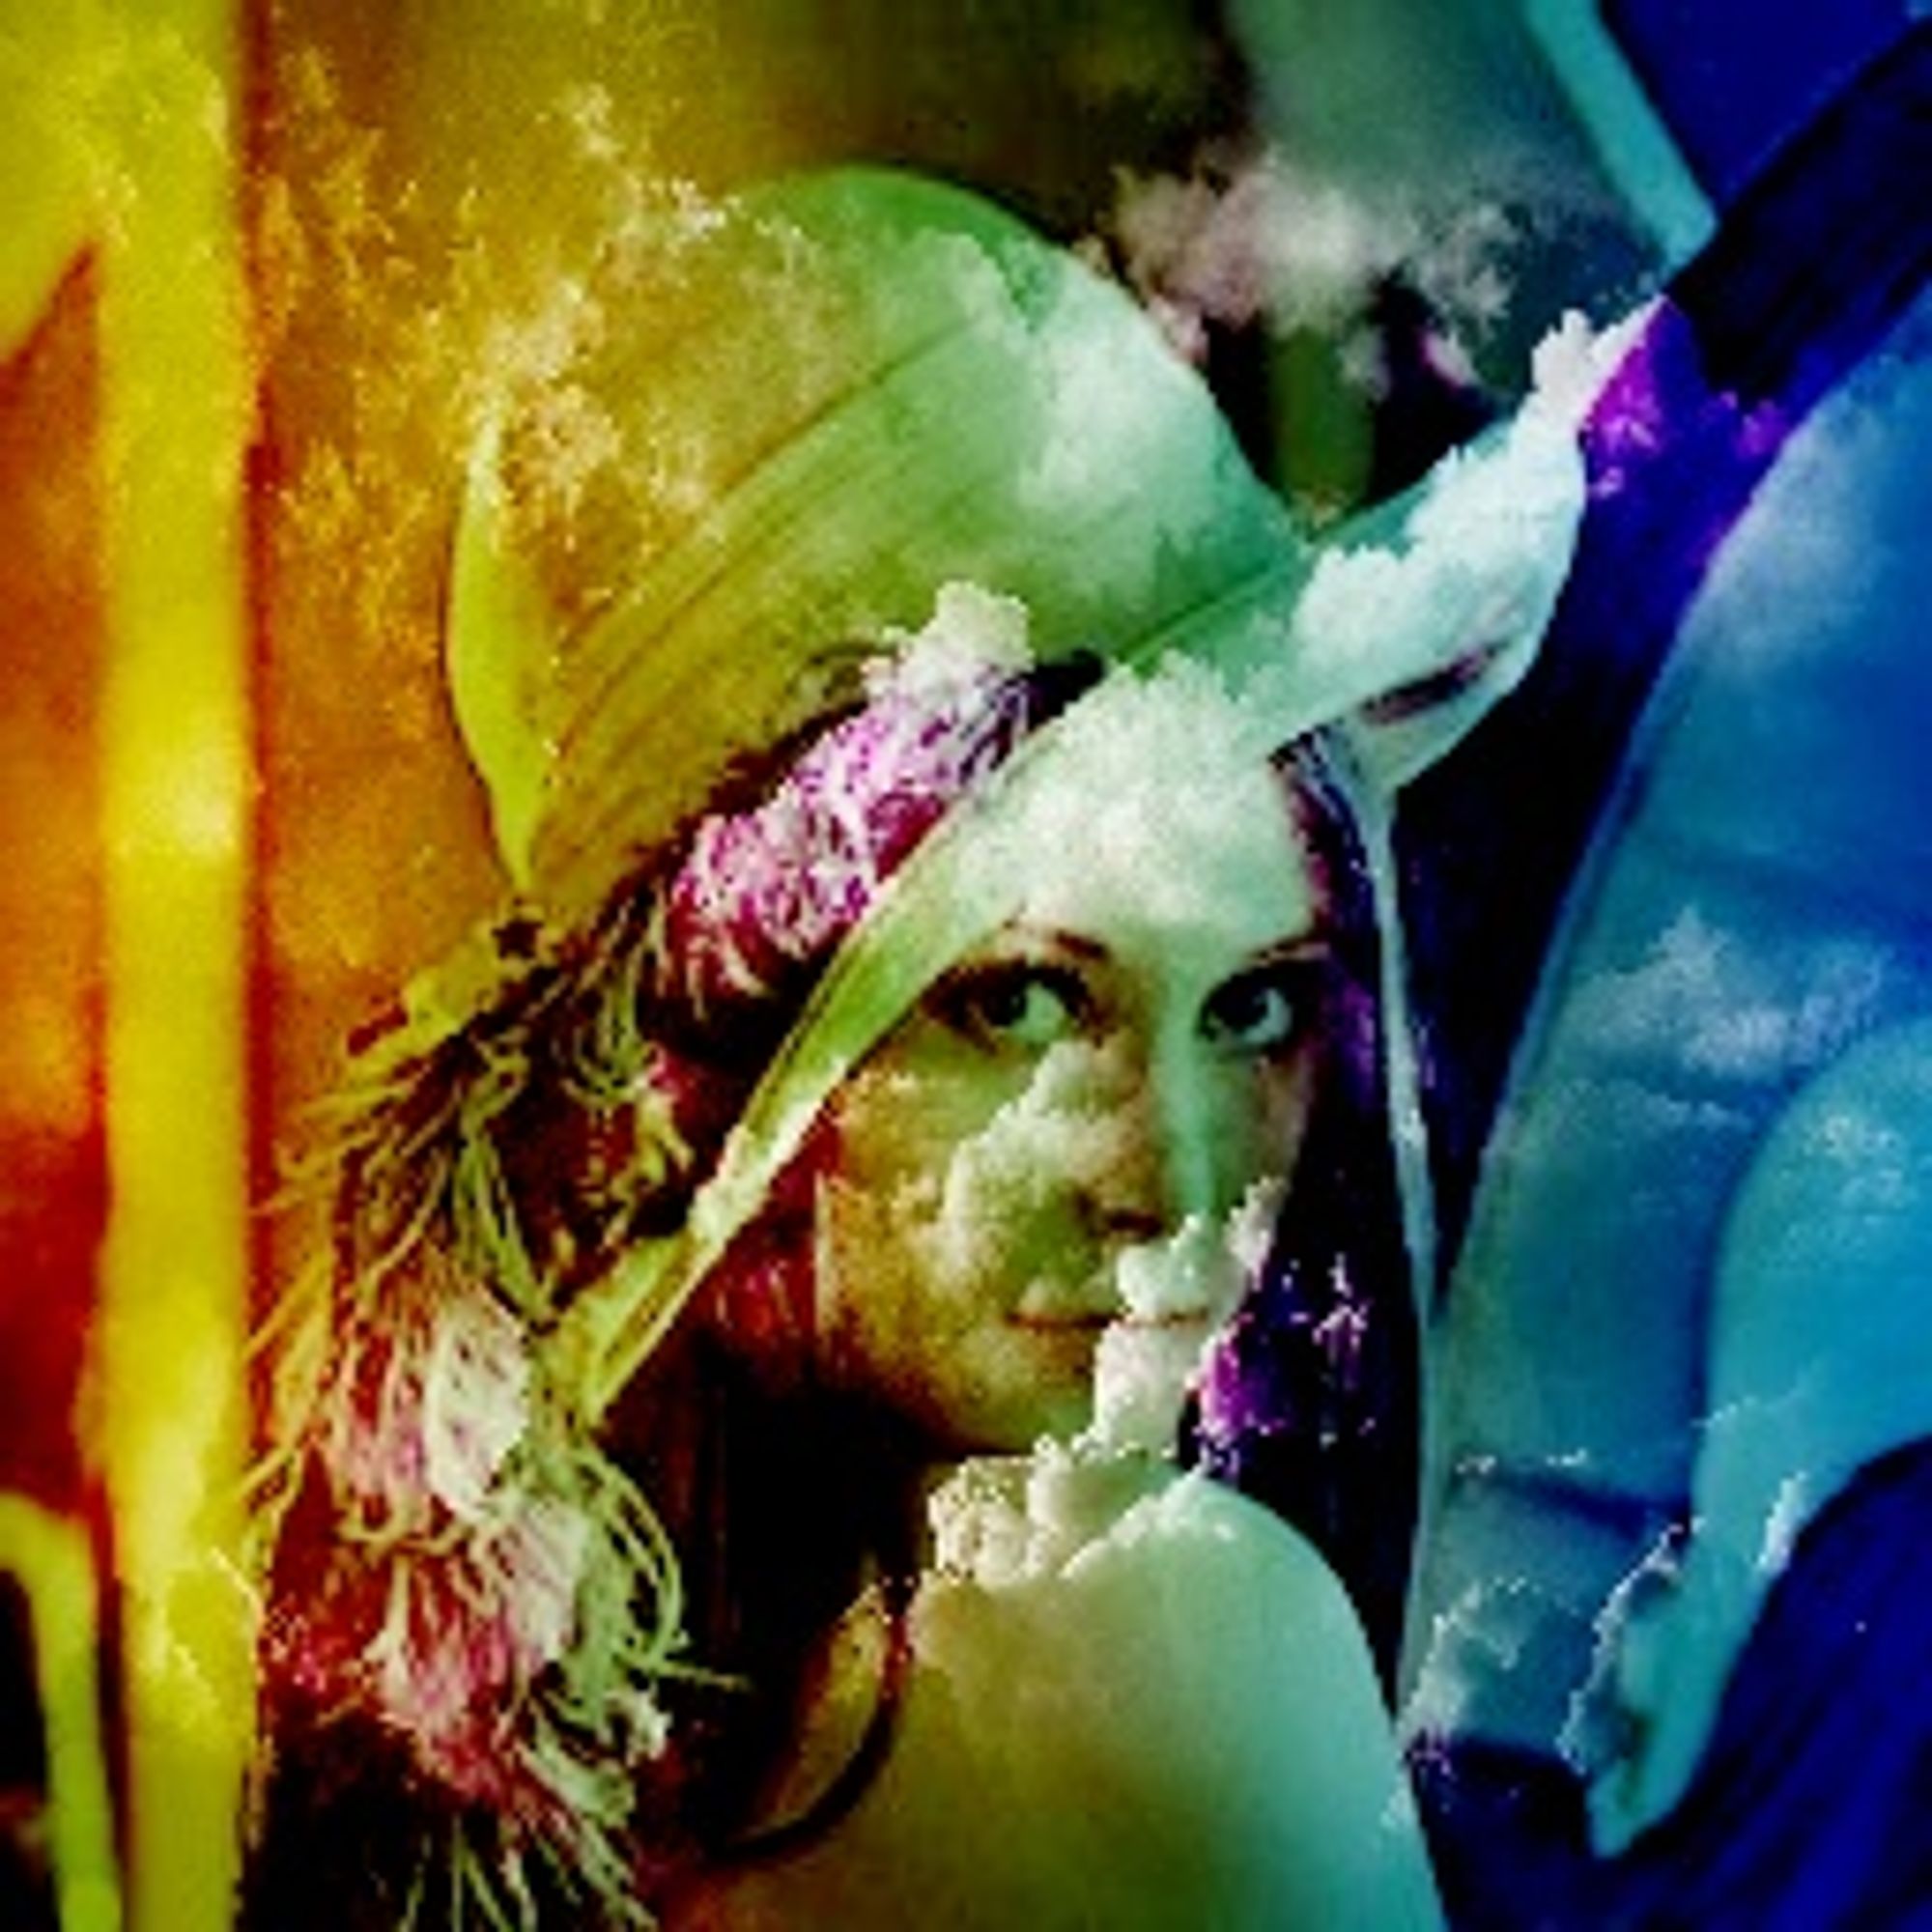
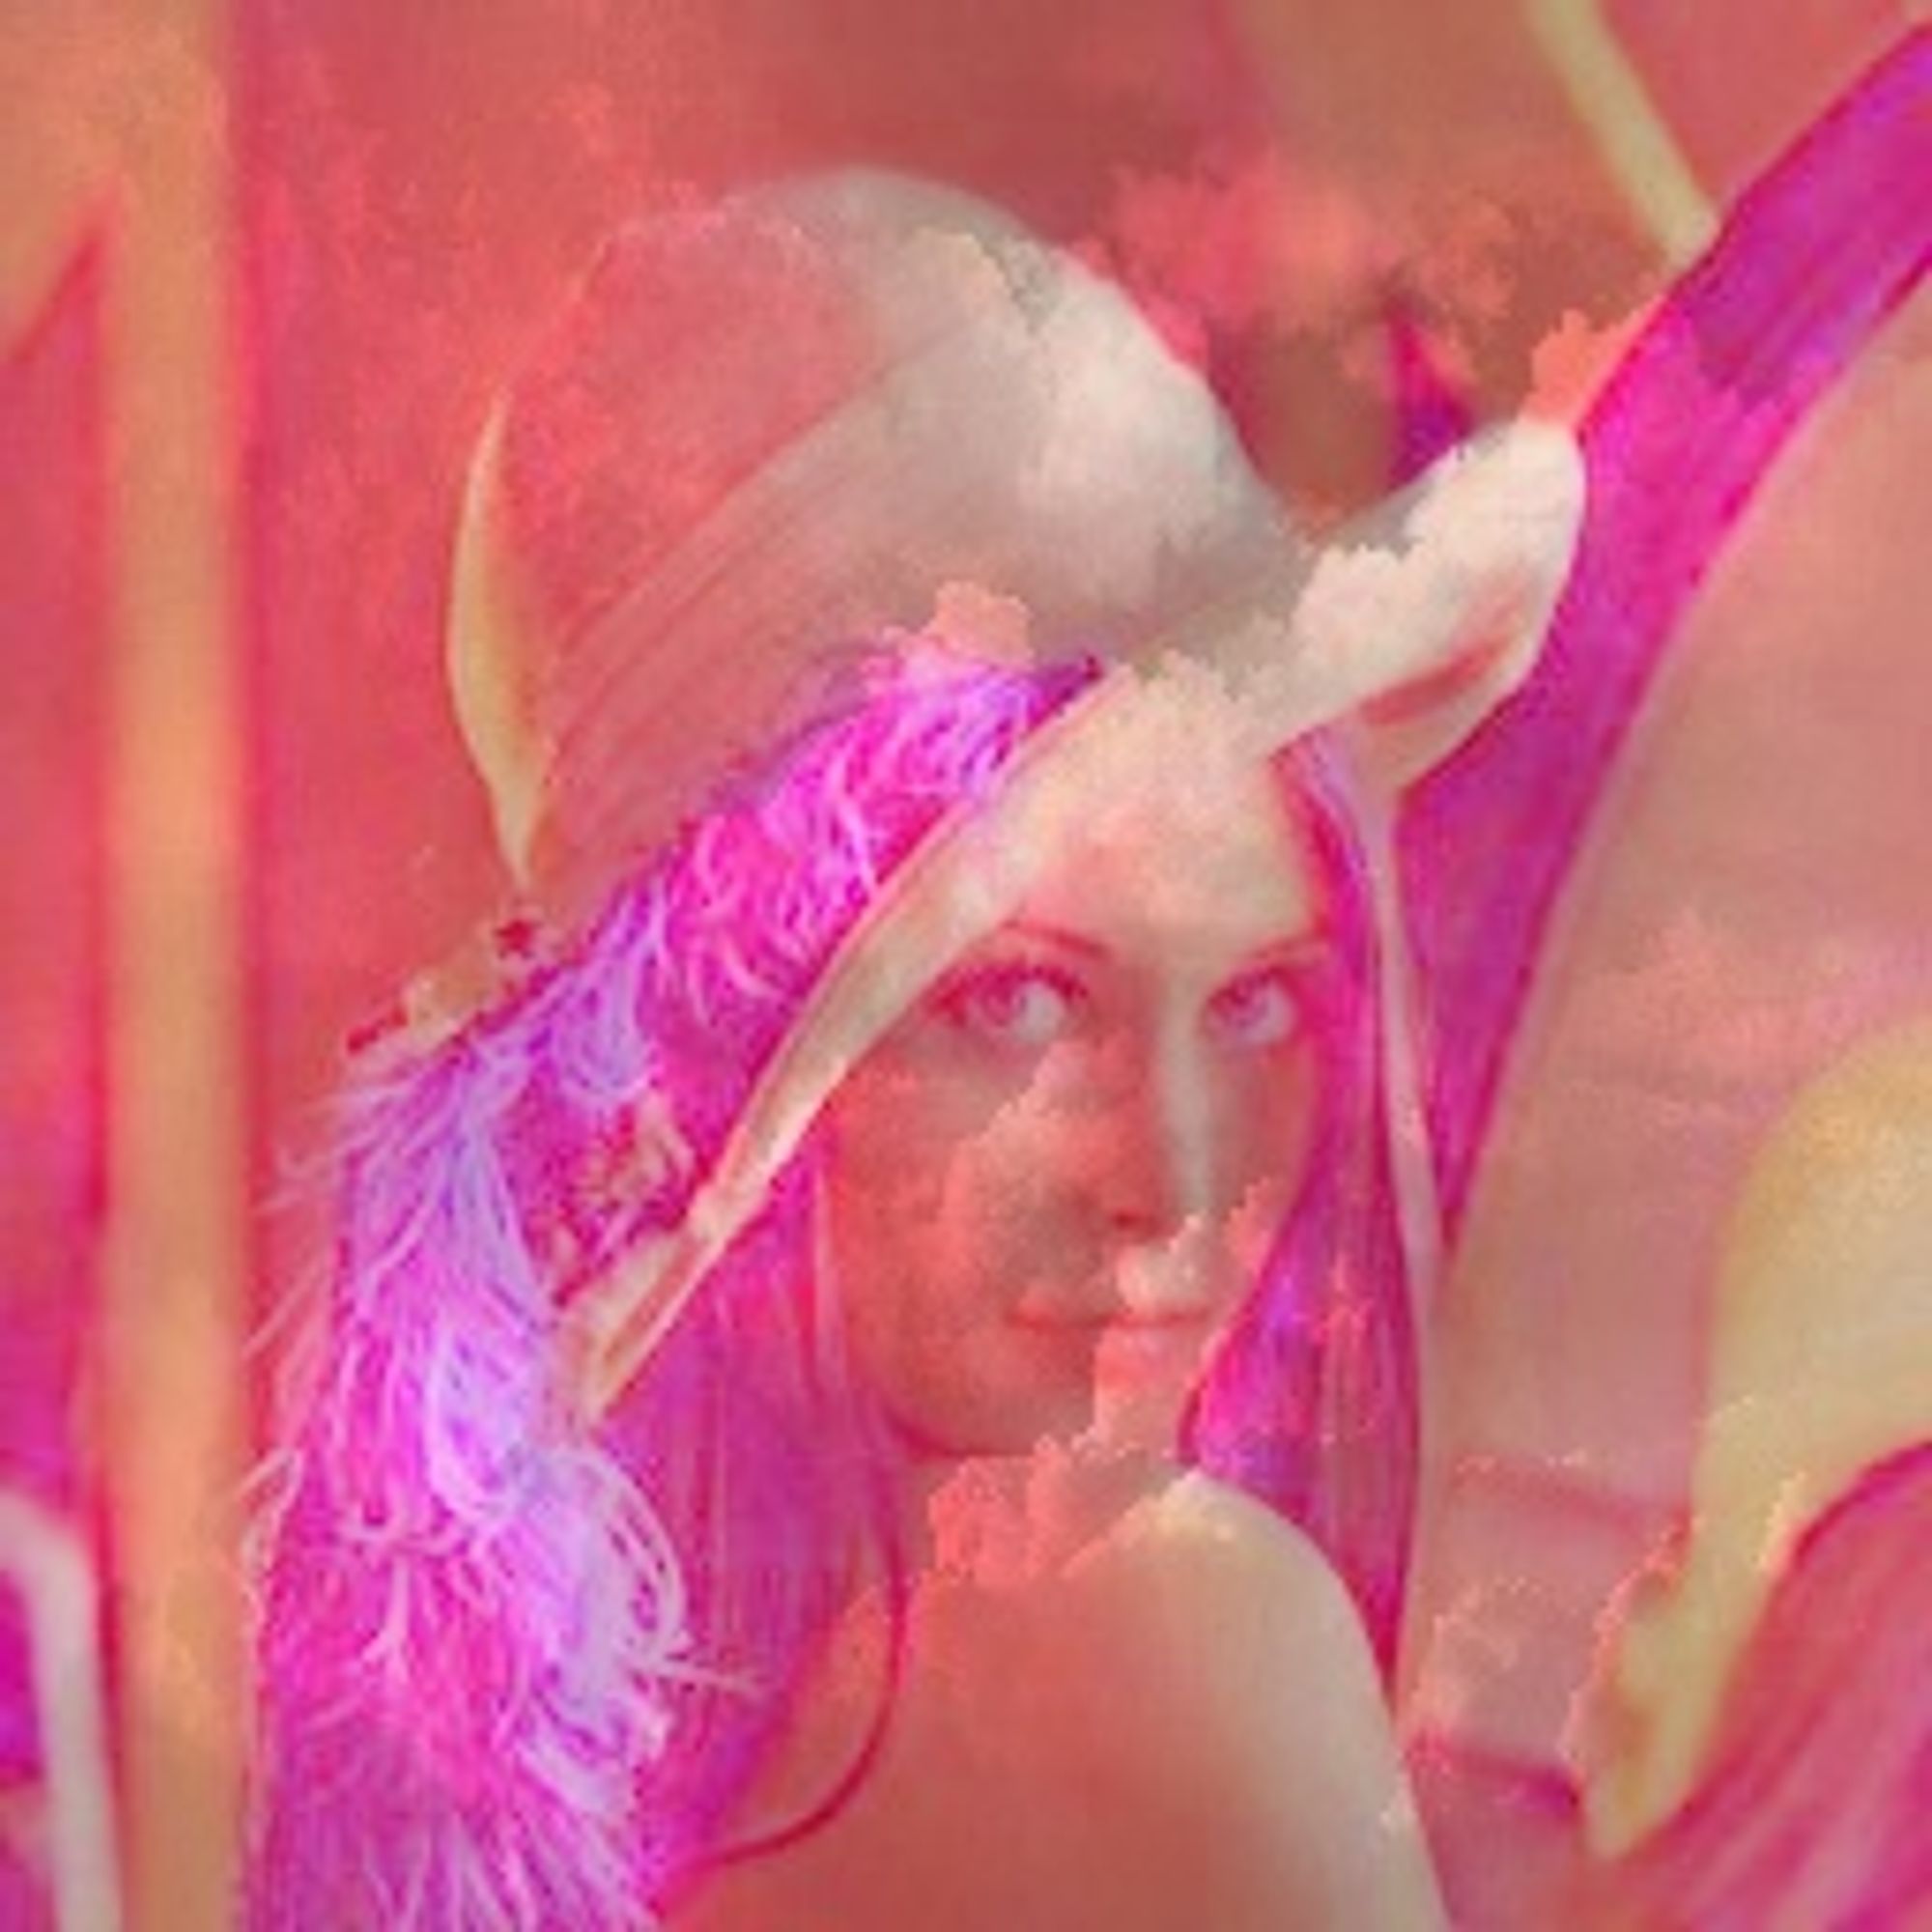
叠加(Overlay)
叠加模式结合了正片叠底和滤色混合模式。基色浅的地方,混合图像变浅;基色较暗的地方,混合图像变暗;基色为中灰色,混合图像不受影响。
代码实现
def Overlay(img1,img2):#叠加
    img1 = img1 / 255.0
    img2 = img2 / 255.0
    res = np.zeros_like(img1,dtype=np.float32)
    flags = np.zeros_like(img1)
    flags[np.where(img2<.5)] = 1
    res = flags * 2 * img1 * img2 + (1 - flags) * (1 - 2 * (1 - img1) * (1 - img2))
    res = (255*res).astype(np.uint8)
    return res
效果展示

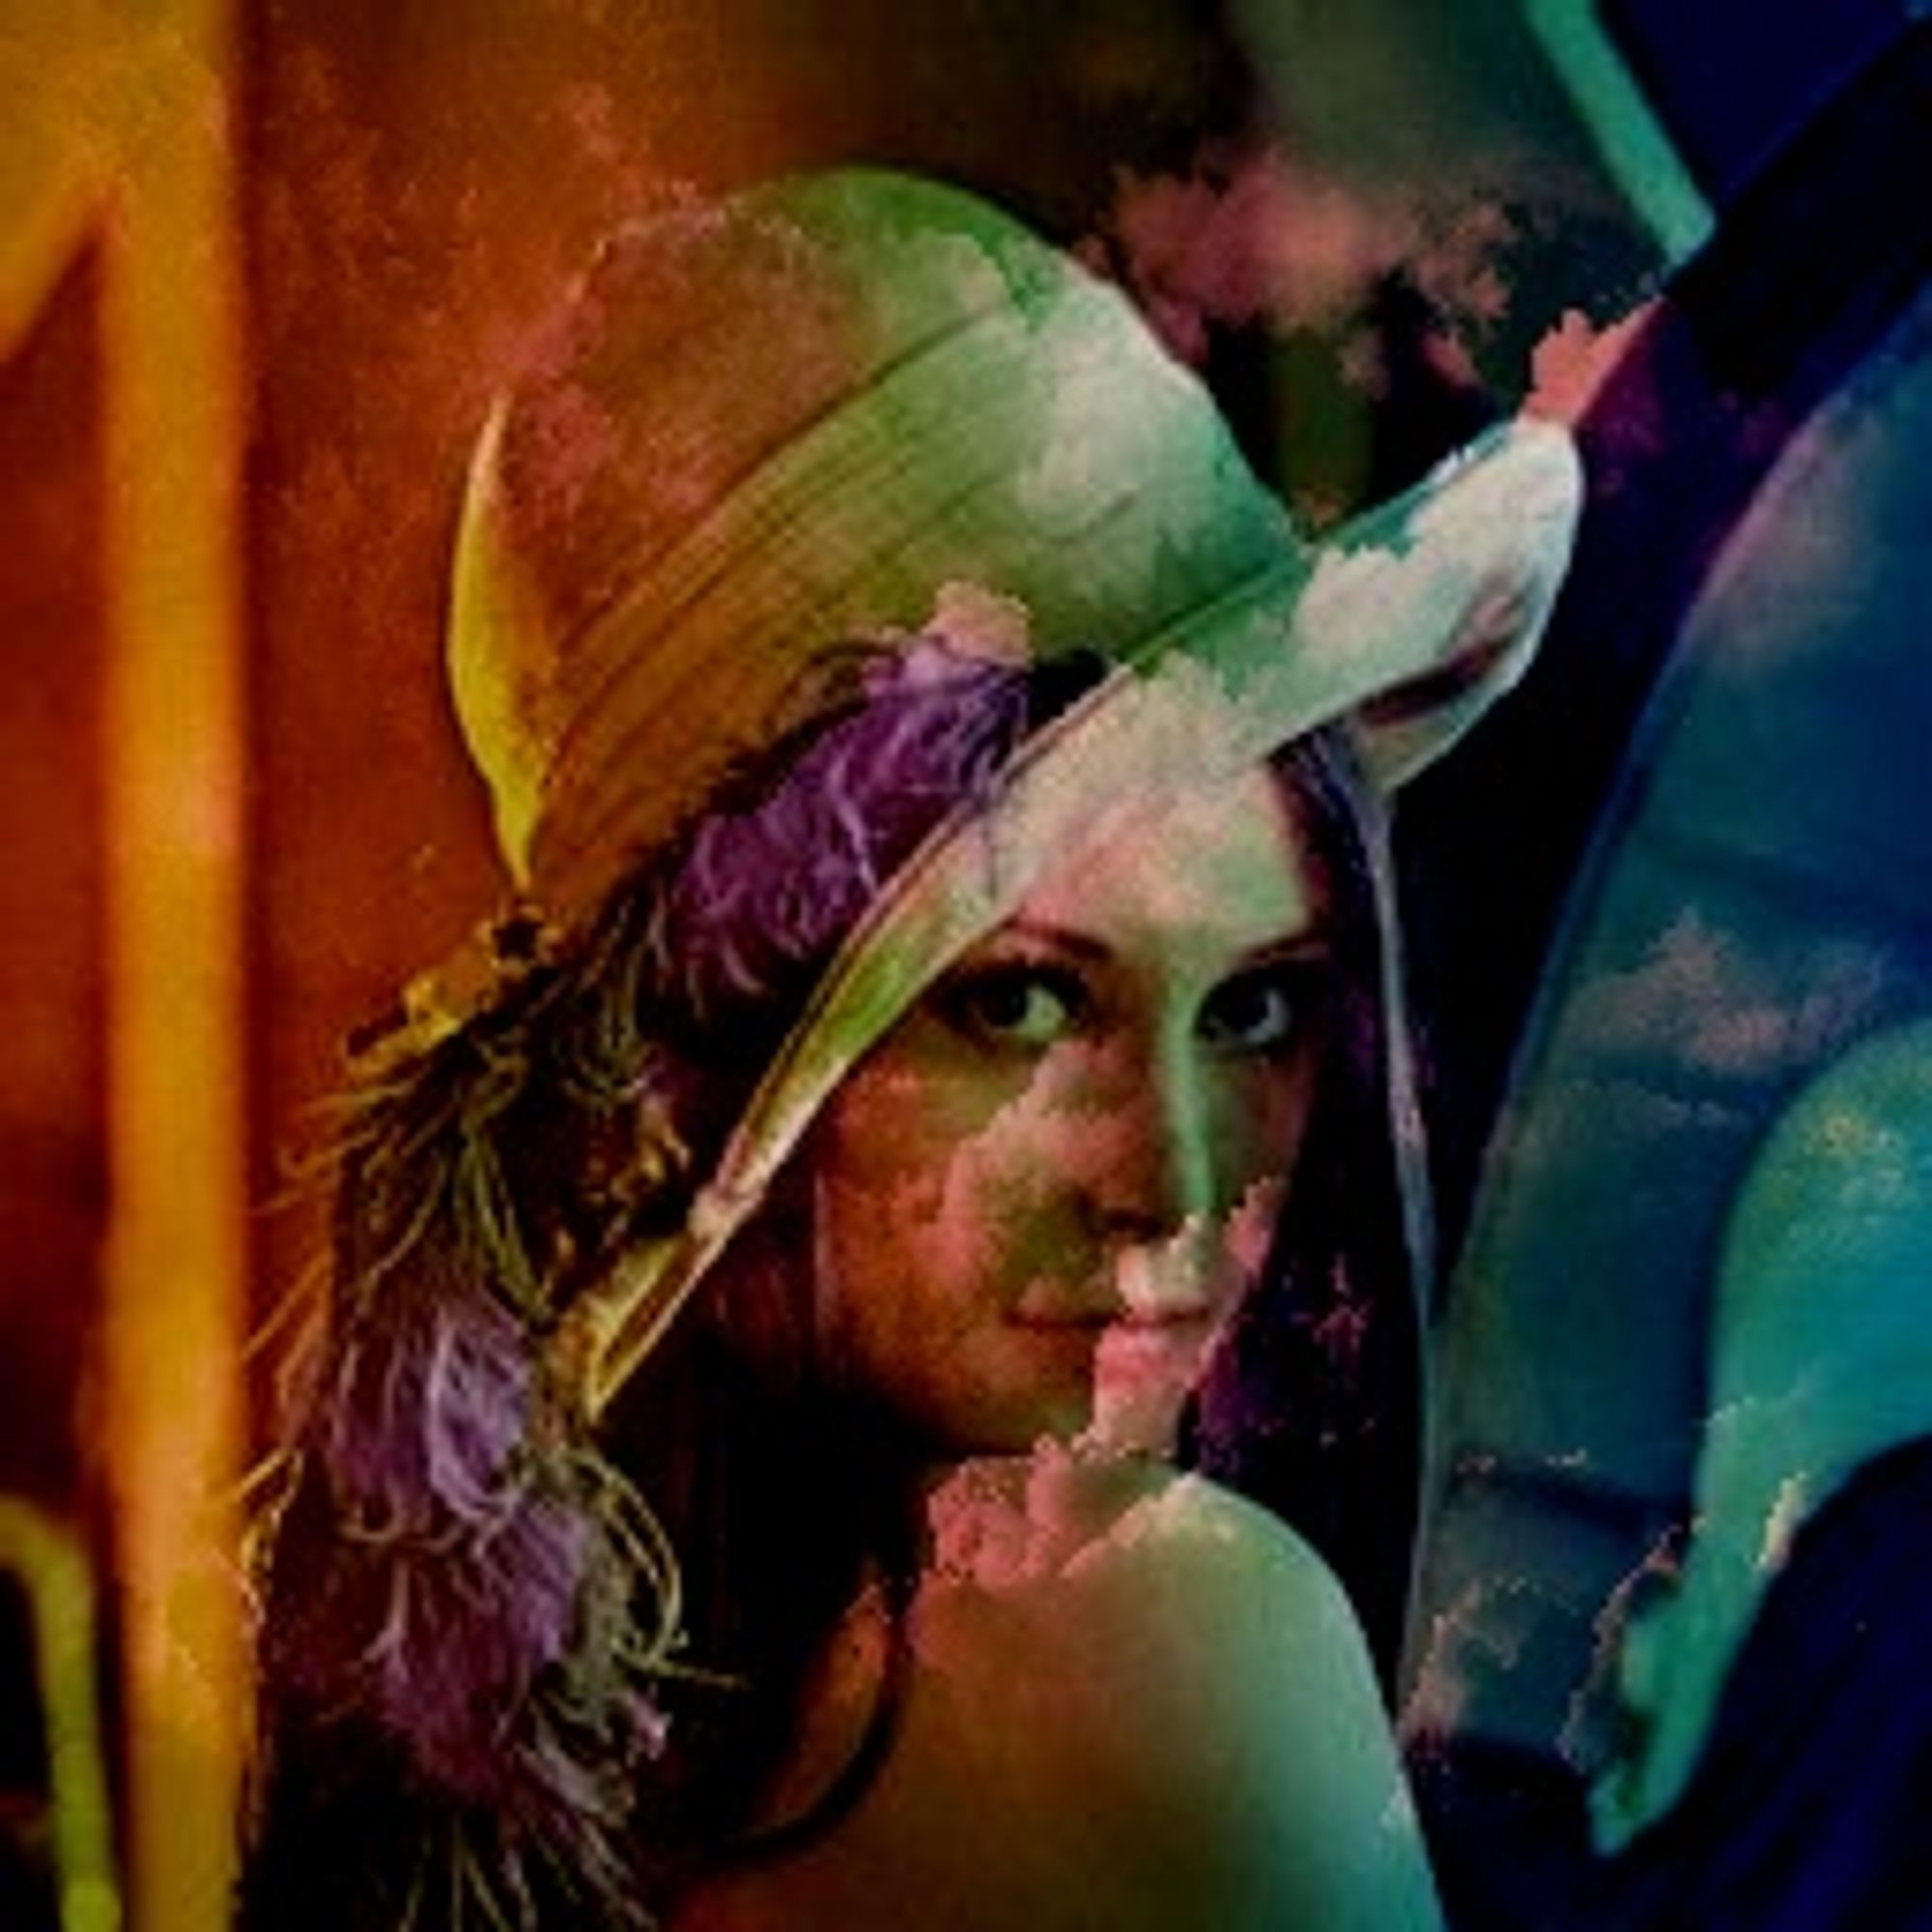
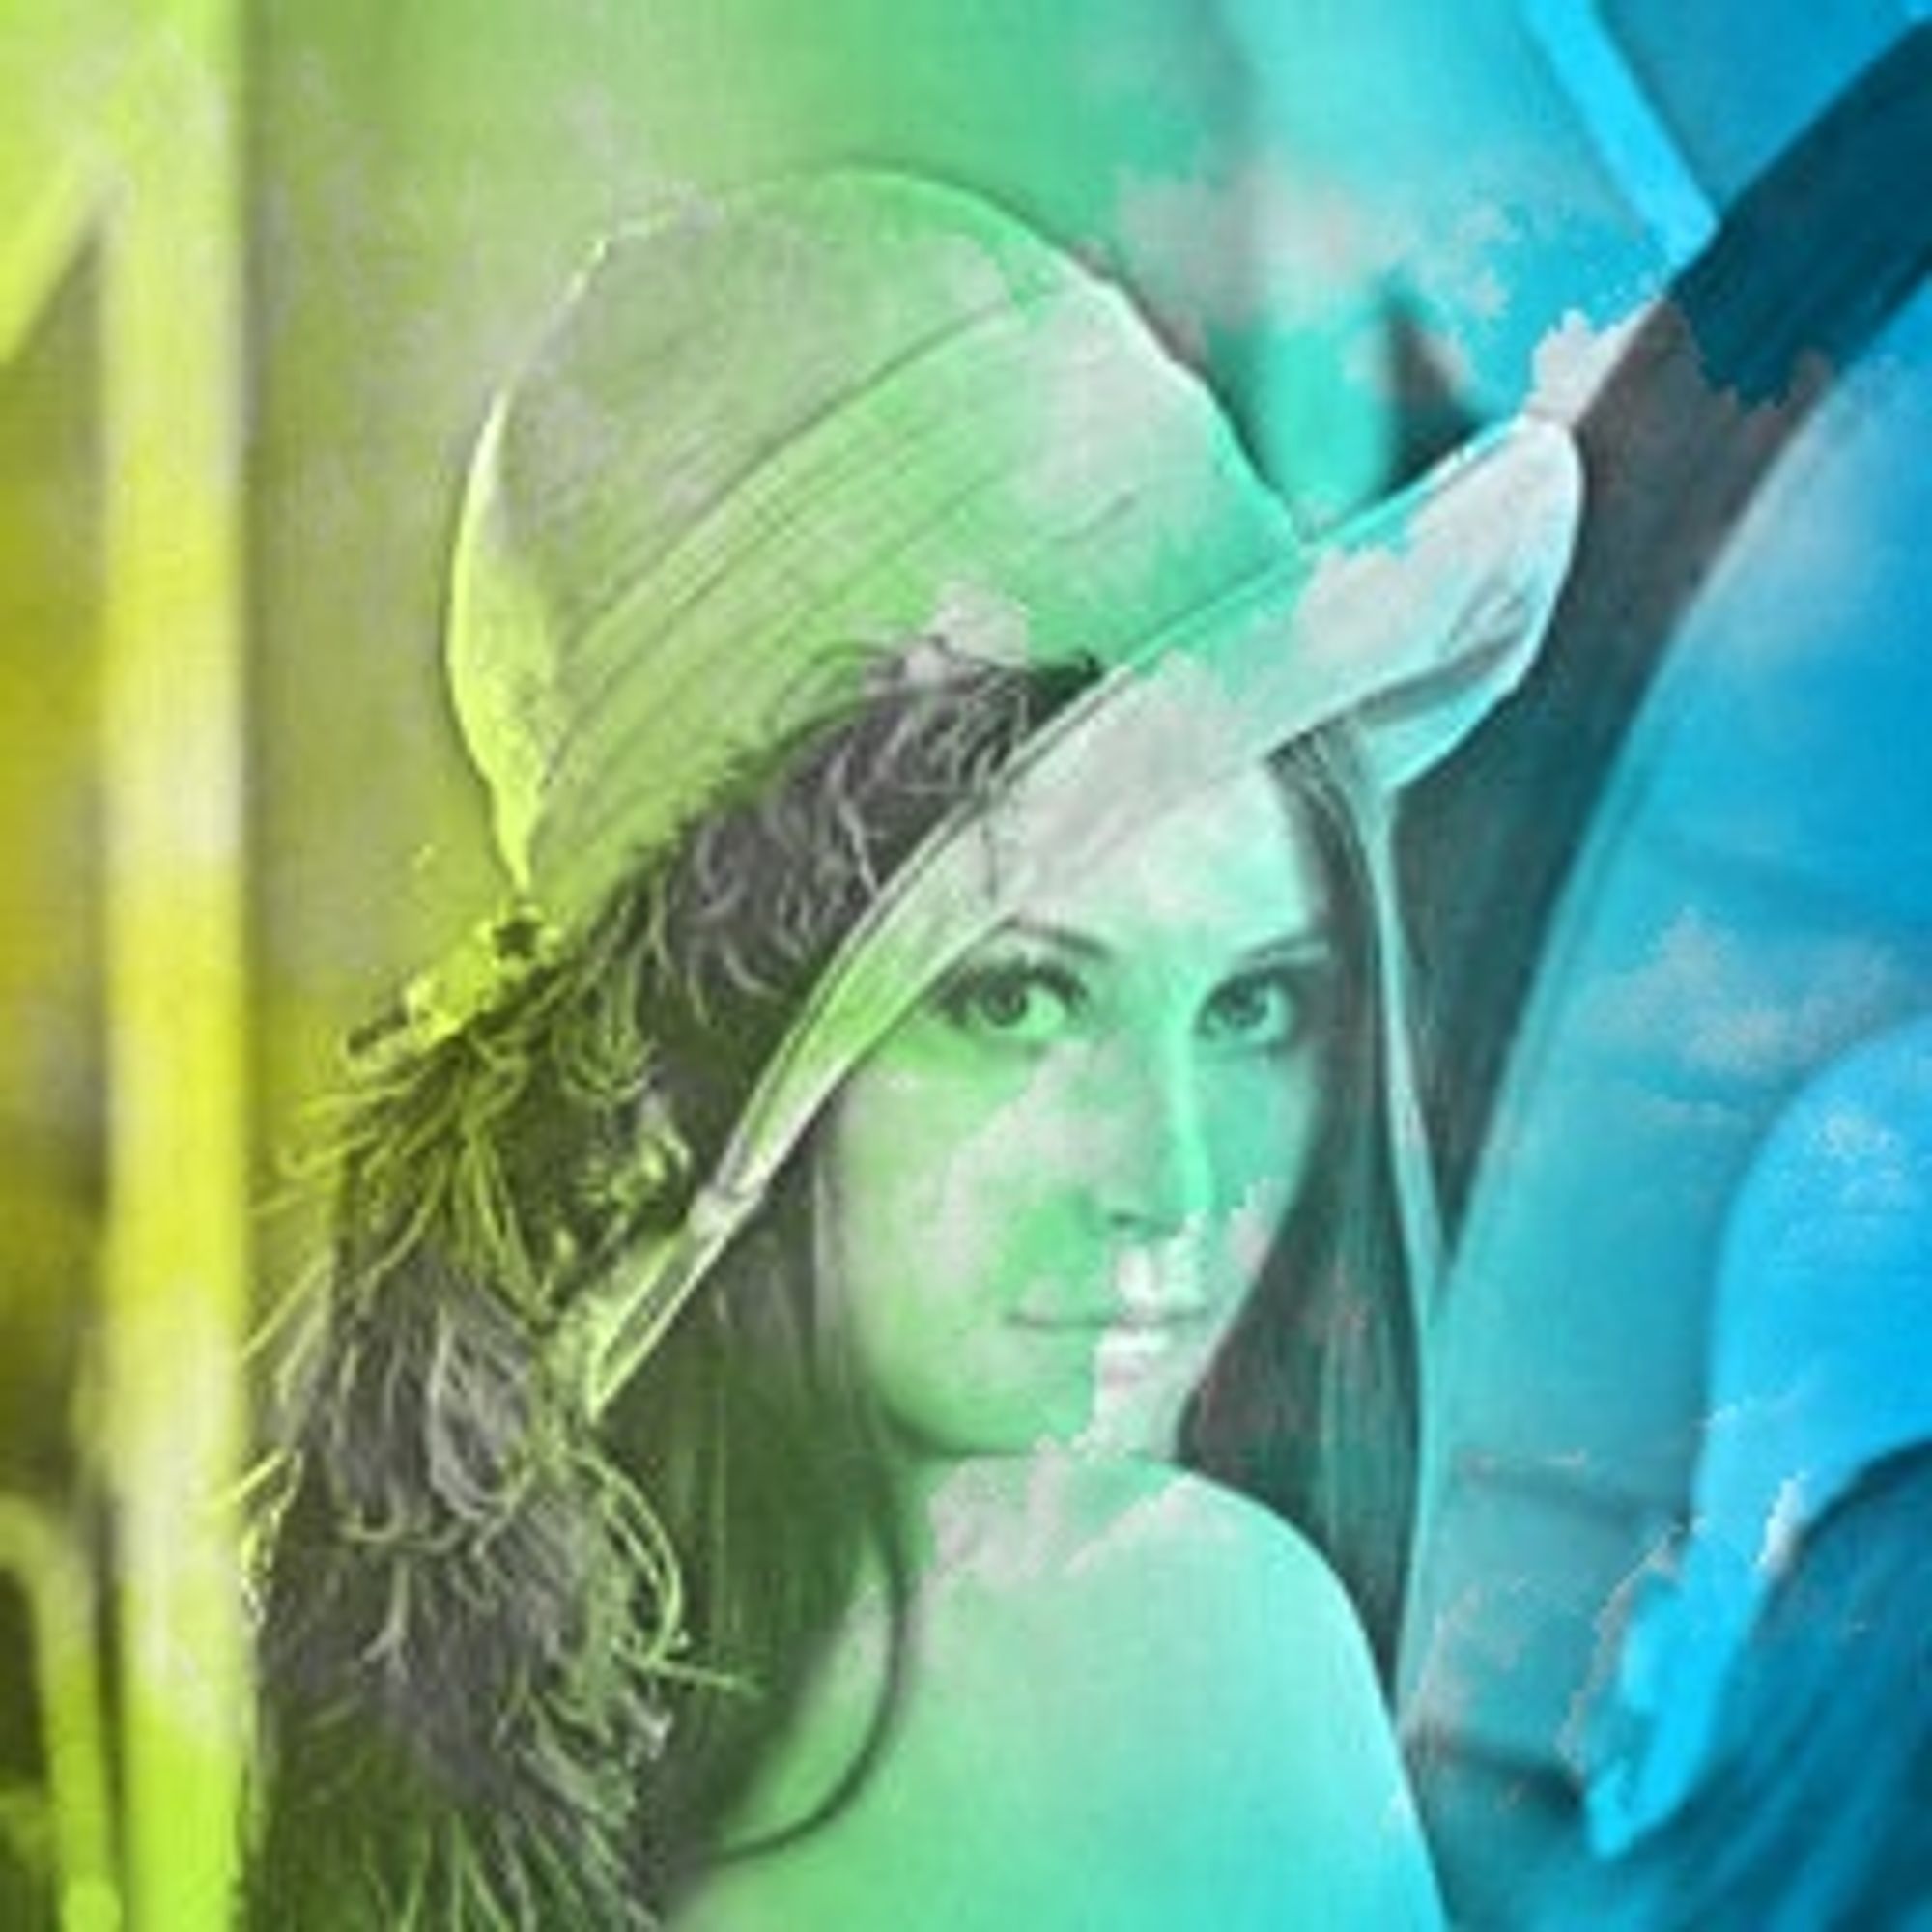
强光(Hard Light)
强光也是正片叠底和滤色的组合。强光影响混合层与基础层的关系,就像叠加模式影响基础层与混合层的关系一样。叠加和强光之间的反比关系使它们成为“互补混合模式”。
代码实现
def HardLight(img1,img2):#强光
    img1 = img1 / 255.0
    img2 = img2 / 255.0
    res = np.zeros_like(img1,dtype=np.float32)
    flags = np.zeros_like(img1)
    flags[np.where(img1<.5)] = 1
    res = flags * 2 * img1 * img2 + (1 - flags) * (1 - 2 * (1 - img1)*(1 - img2))
    res = (255*res).astype(np.uint8)
    return res
效果展示
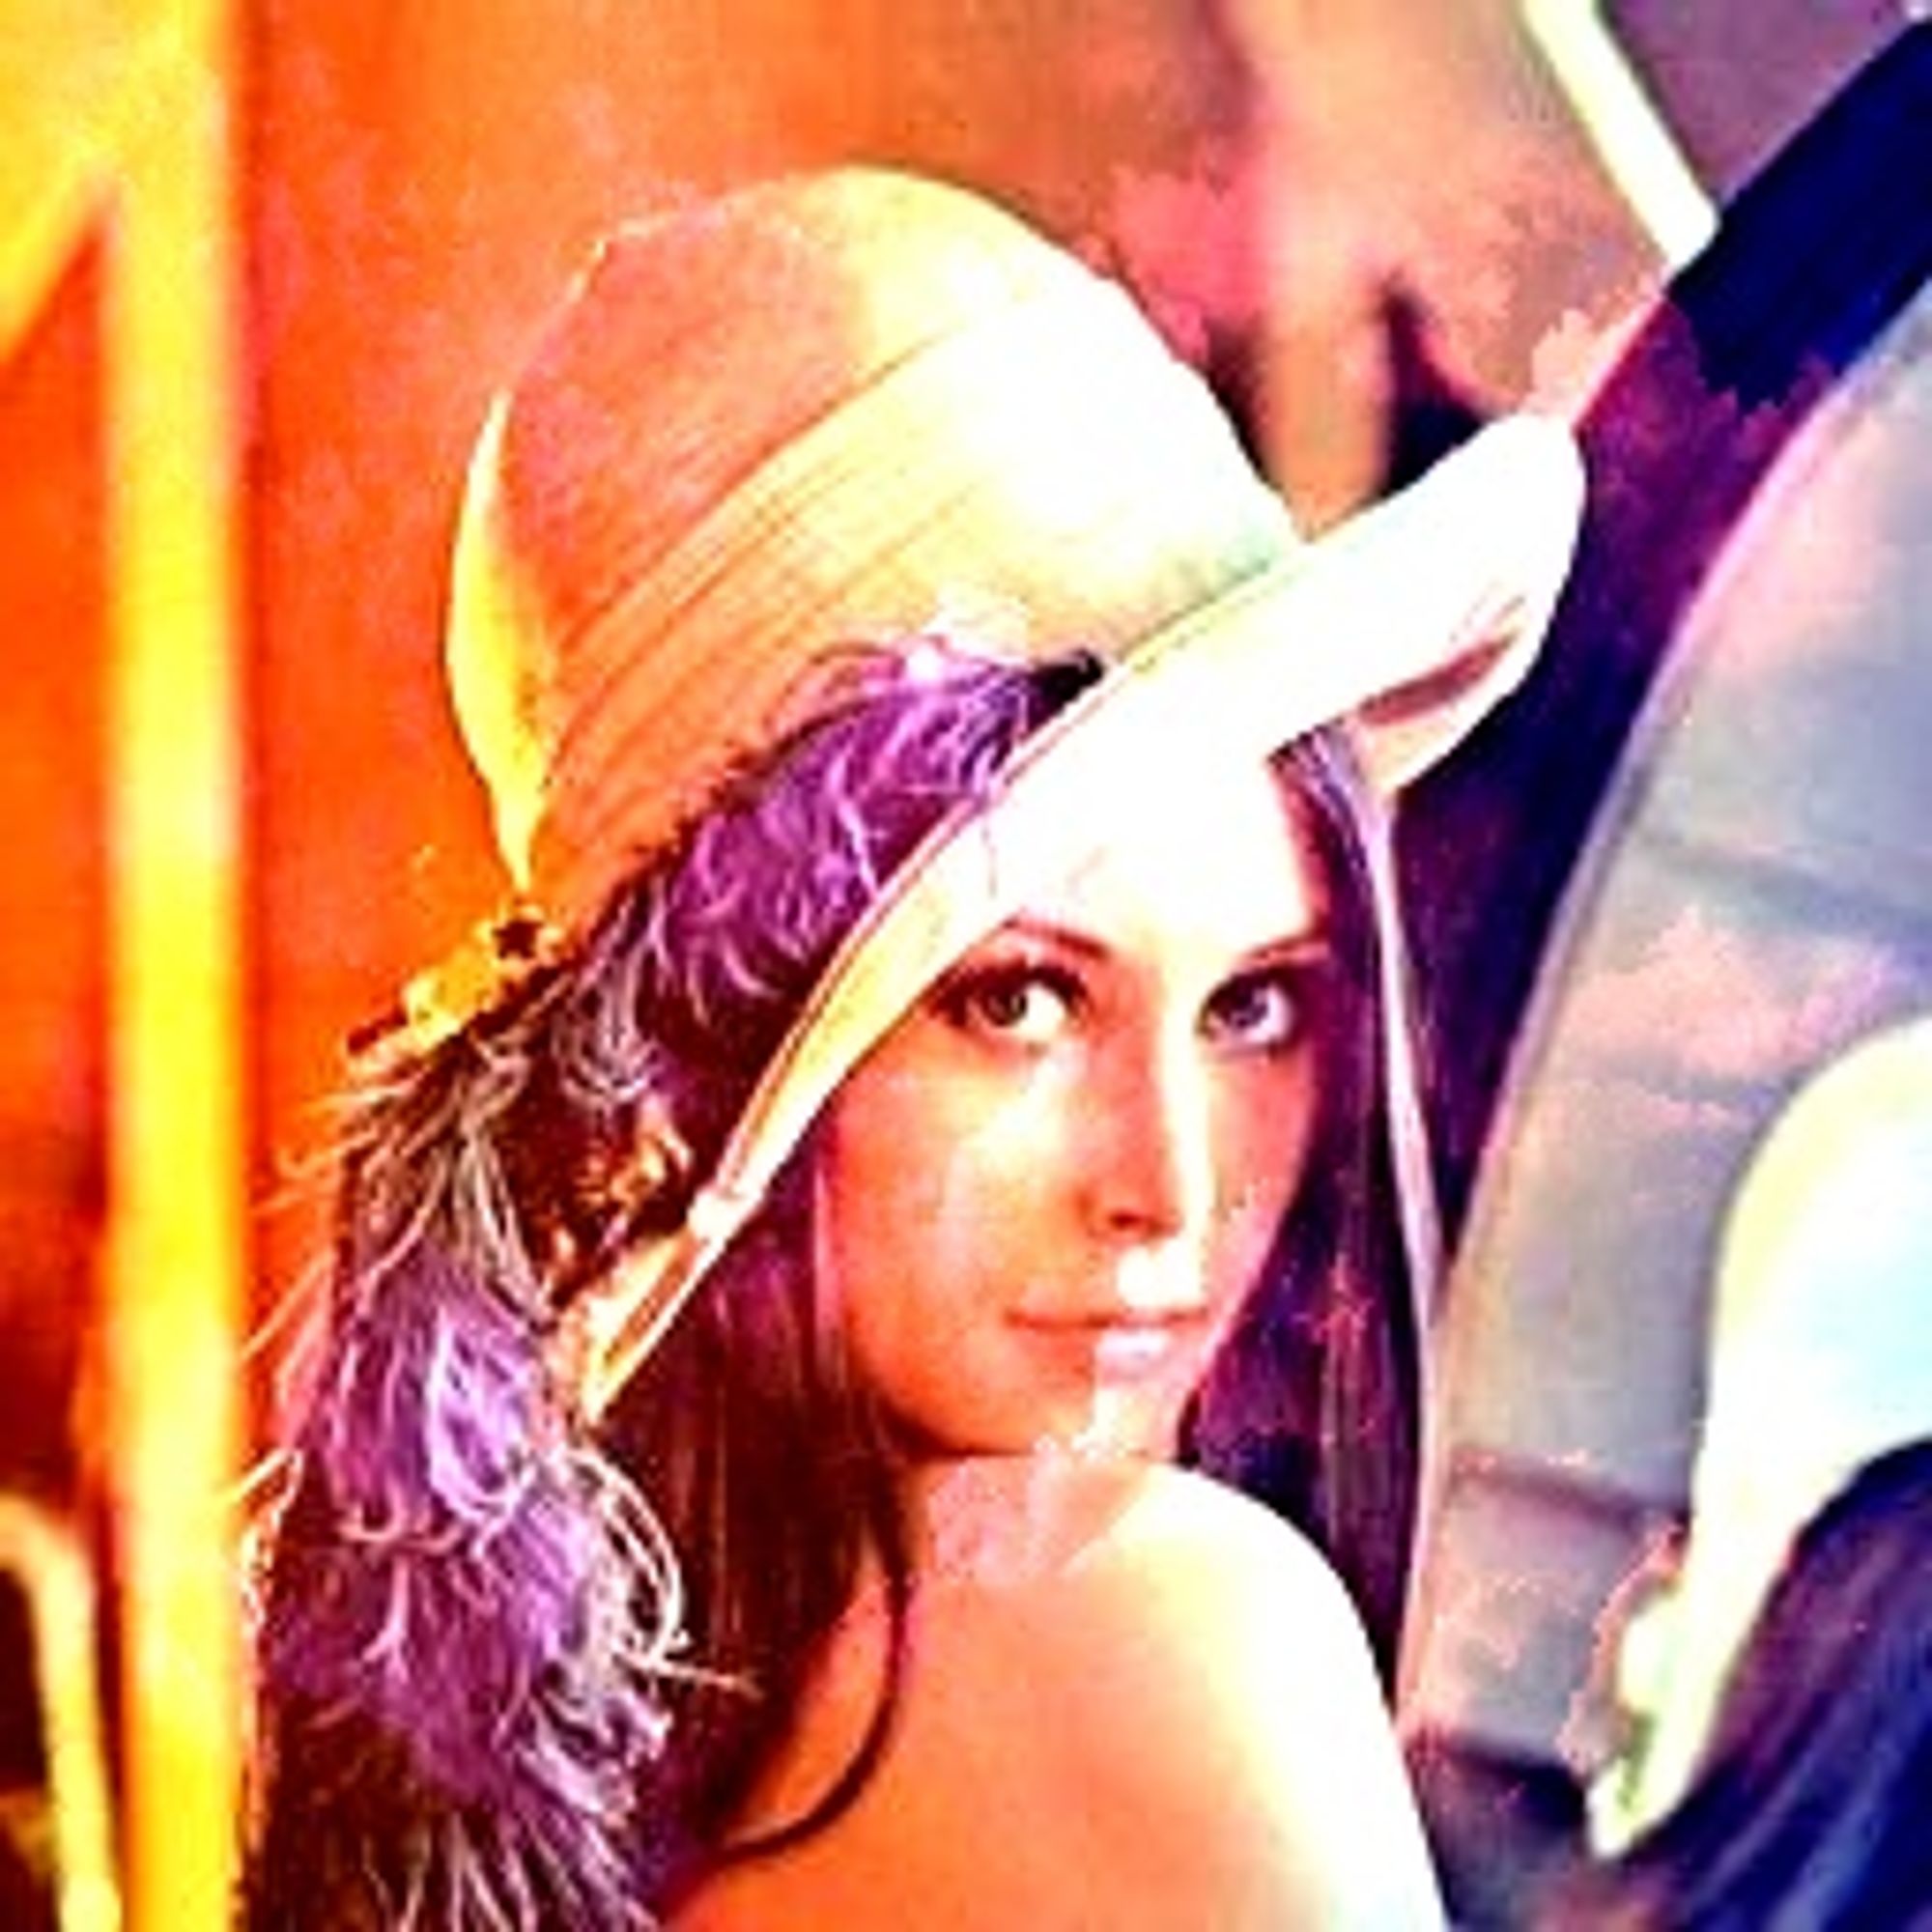
柔光(Soft Light)
柔光与叠加关系最密切,仅在名称上与强光相似。应用纯黑色或纯白色不会产生纯黑色或纯白色。
代码实现
def SoftLight(img1,img2):#柔光
    img1 = img1 / 255.0
    img2 = img2 / 255.0
    res = np.zeros_like(img1,dtype=np.float32)
    flags = np.zeros_like(img1)
    flags[np.where(img1<.5)] = 1
    res = flags * ((2 * img1 - 1) * (img2 - img2**2) + img2) + (1 - flags) * ((2 * img1 - 1) * (img2**.5 - img2) + img2)
    res = (255*res).astype(np.uint8)
    return res
效果展示
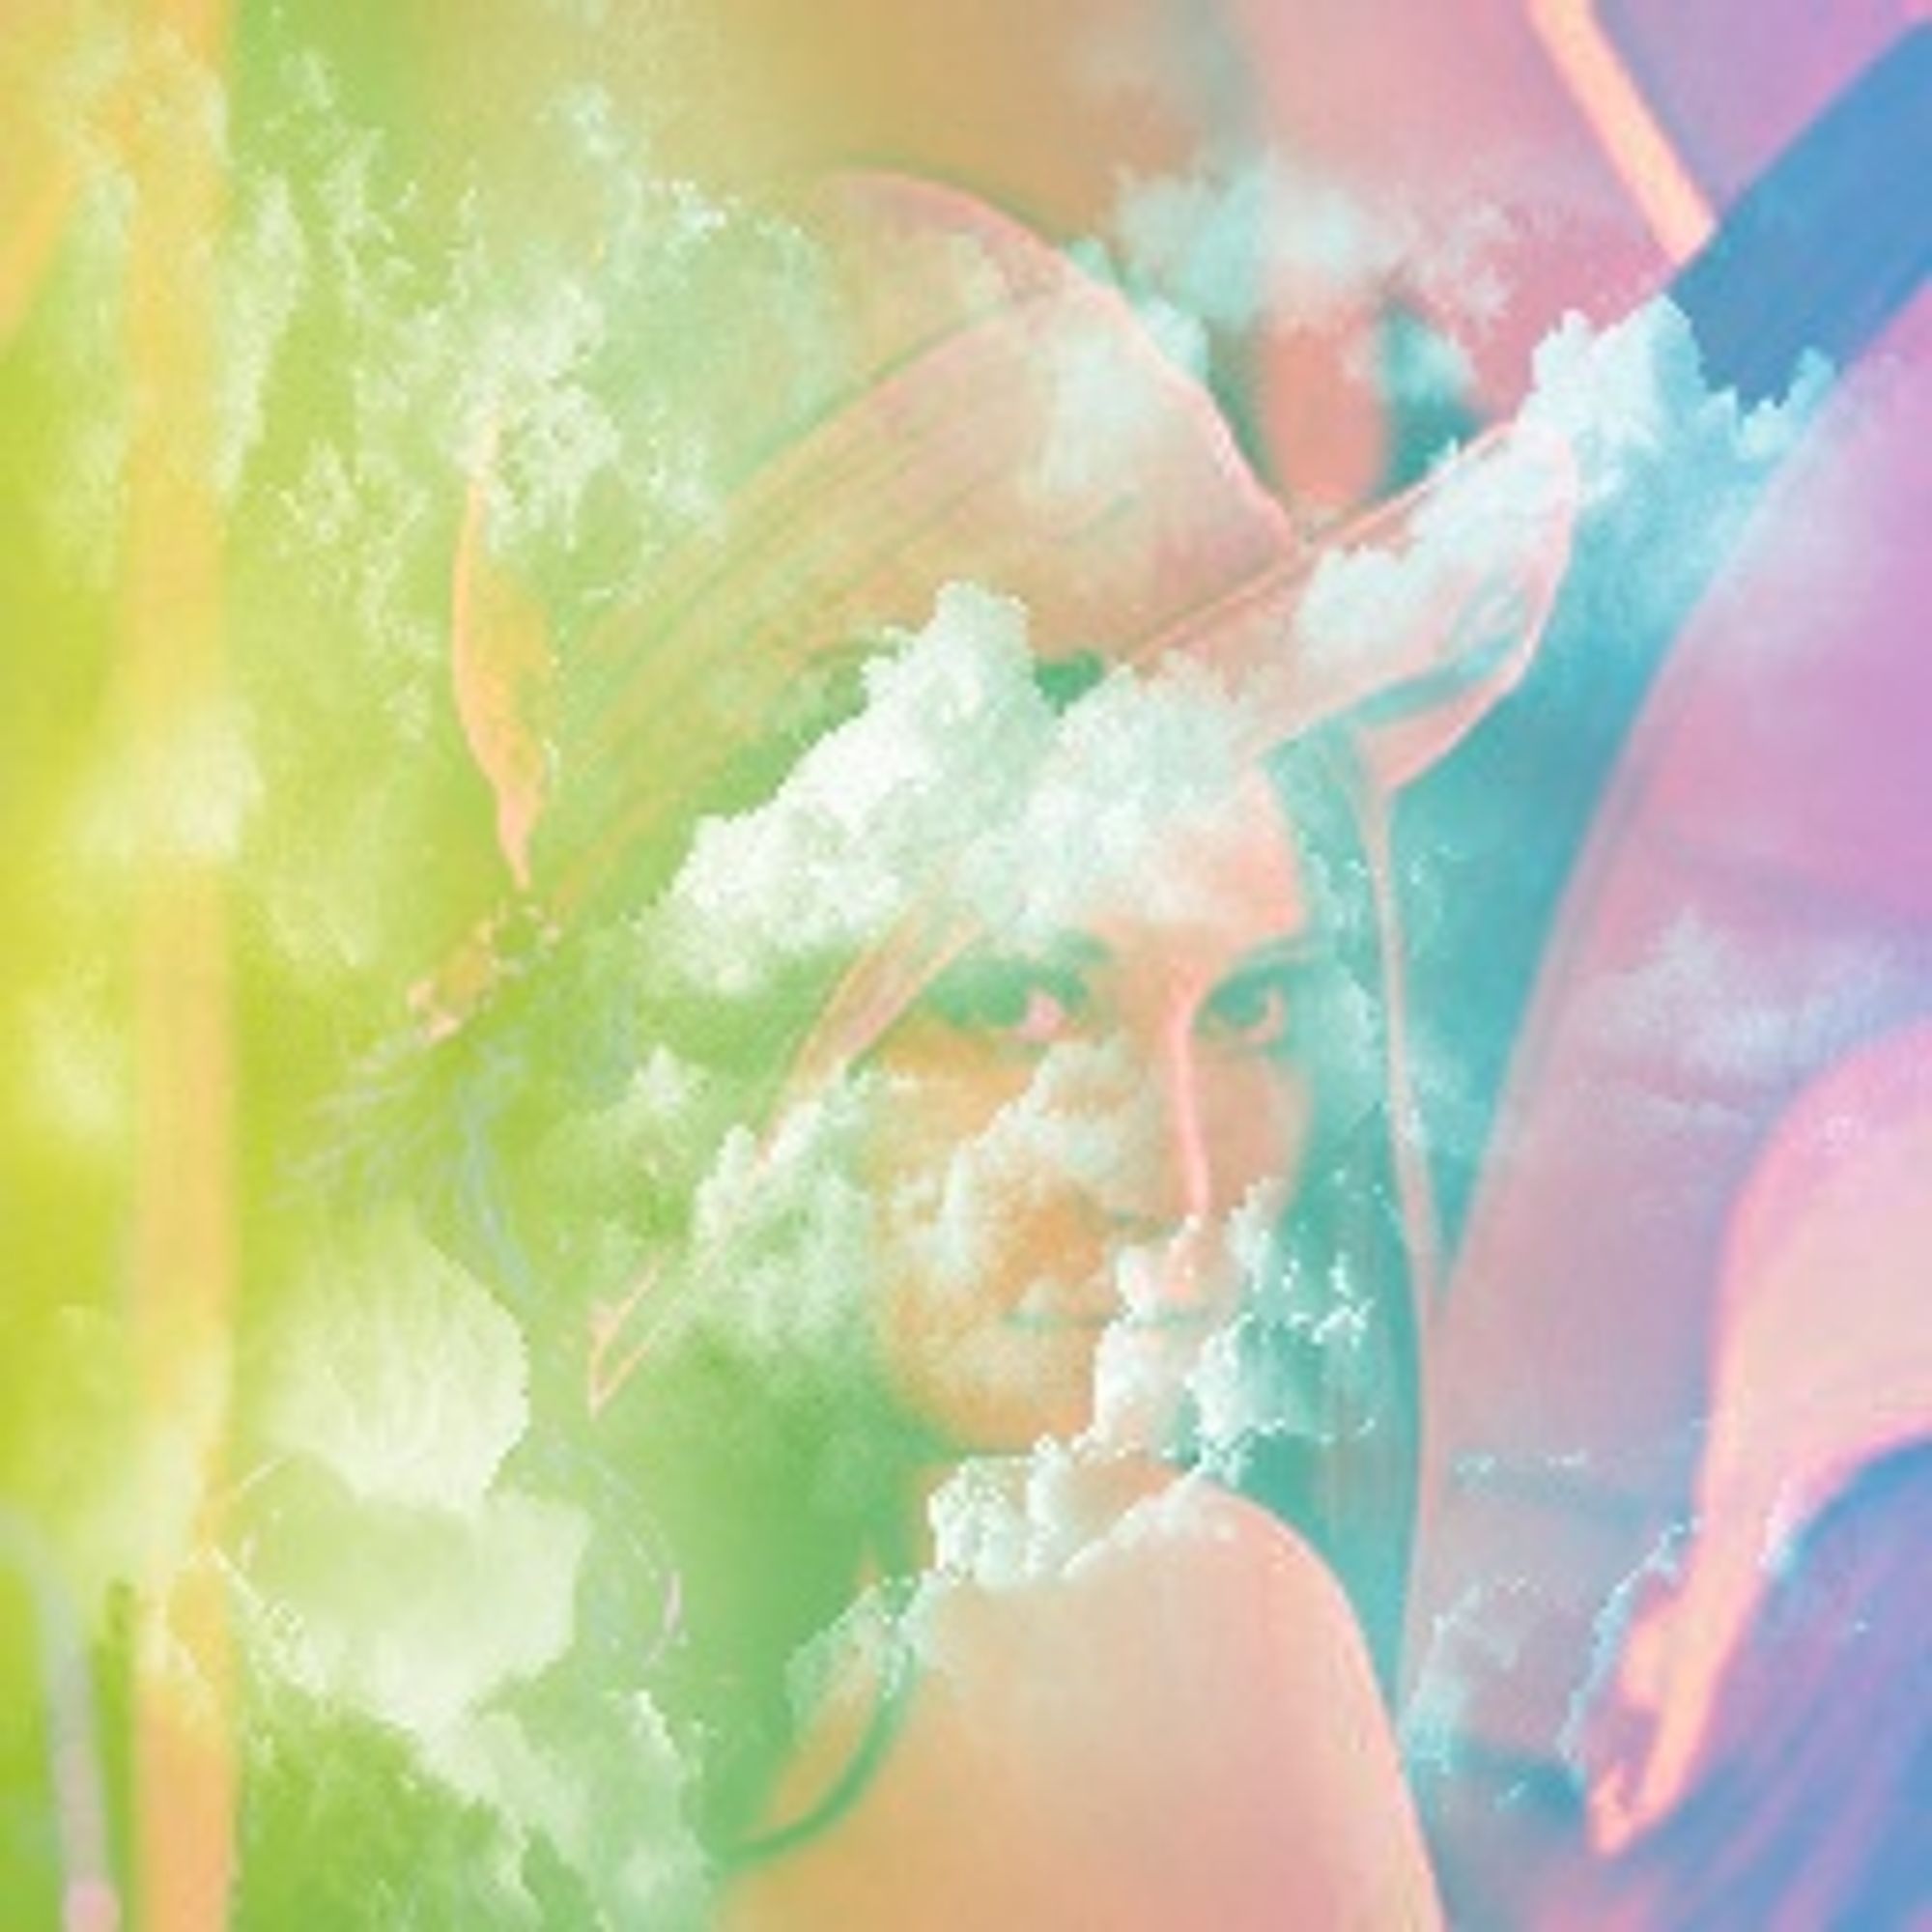
颜色减淡(Color Dodge)
颜色减淡混合模式将原始图像除以倒置的混合图像。 这取决于混合图像的值使原始图像变亮:混合图像越亮,其颜色对原始图像的影响越大。 将任何颜色与白色混合都会产生白色。 与黑色混合不会改变图像。
代码实现
def ColorDodge(img1,img2):#颜色减淡
    img1 = img1 / 255.0
    img2 = img2 / 255.0
    res = img2 / (1.0 - img1 + 0.01)
    res = np.maximum(0.0,res)
    res = np.minimum(1.0,res)
    res = (res*255).astype(np.uint8)
    return res
效果展示
线性减淡(Linear Dodge)
线性减淡混合模式只是将两个图层中的值相加(也称为加法混合)。与白色混合产生白色。与黑色混合不会改变图像。当混合图像包含同种颜色时,这种效果相当于将输出黑色更改为该颜色,将白色(输入)更改为反转颜色。没有clip时对比度会降低(详见代码)。
代码实现
def LinearDodge(img1,img2):#线性减淡
    img1 = img1 / 255.0
    img2 = img2 / 255.0
    res = img1 + img2
    res = np.minimum(1.0,res)
    res = (res*255).astype(np.uint8)
    return res
效果展示
颜色加深(Color Burn)
颜色加深模式将反转的原始图像除以混合图像,然后反转结果。这会使混合图像变暗,增加对比度以反映原始图像的颜色。原始图像越深,使用的颜色越多。与白色混合不会产生任何差异。
代码实现
def ColorBurn(img1,img2):#颜色加深
    img1 = img1 / 255.0
    img2 = img2 / 255.0
    tmp = np.zeros(img1.shape,dtype=np.float32)
    res = (img1 + img2 - 1.0) / (img1+0.01)
    res = np.maximum(tmp,res)
    res = (res*255).astype(np.uint8)
    return res
效果展示
线性加深(Linear Burn)
线性加深模式将两个图层中的值相加并减去 1。这与反转每个图层,将它们相加(如在线性减淡中),然后反转结果相同。与白色混合使图像保持不变。
代码实现
def LinearBurn(img1,img2):#线性加深
    img1 = img1 / 255.0
    img2 = img2 / 255.0
    res = img1 + img2 - 1.0
    res = np.maximum(0.0,res)
    res = (res*255).astype(np.uint8)
    return res
效果展示
亮光(Vivid Light)
这种混合模式结合了颜色减淡和颜色加深(重新调整以使中性色变为中间灰色)。当混合图像中的值比中间灰色浅时应用减淡,而加深适用于较暗的值。当混合图像的颜色比这个浅时,这有效地将原始图像的白点向下移动了两倍的差异;当它更暗时,黑点向上移动两倍的差异。
代码实现
def VividLight(img1,img2):#亮光
    img1 = img1 / 255.0
    img2 = img2 / 255.0
    res = np.zeros_like(img1,dtype=np.float32)
    flags = np.zeros_like(img1)
    flags[np.where(img2<=.5)] = 1
    res = flags * (1 - (1 - img1) / (2 * img2 + 0.001)) + (1 - flags) * (img1 / (2 * (1 - img2) + 0.001))
    res = np.clip(res,0,1)
    res = (255*res).astype(np.uint8)
    return res
效果展示

线性光(Linear Light)
此混合模式结合了线性减淡和线性加深。当混合图像的值比中间灰色浅时应用减淡,当混合图像值较暗时应用加深。计算简化为原始图像和混合图像的两倍之和,减去 1。这种模式降低了对比度。
代码实现
def LinearLight(img1,img2):#线性光
    img1 = img1 / 255.0
    img2 = img2 / 255.0
    res = 2 * img1 + img2 - 1.0
    res = np.minimum(1.0,res)
    res = np.maximum(0.0,res)
    res = (res*255).astype(np.uint8)
    return res
效果展示
变亮(Lighten)
变亮具有与变暗相反的作用。它从前景和背景像素中选择每个分量的最大值。变亮的数学表达式是:
代码实现
def Lighten(img1,img2):#变亮
    img1 = img1 / 255.0
    img2 = img2 / 255.0
    res = np.zeros_like(img1,dtype=np.float32)
    flags = np.zeros_like(img1)
    flags[np.where(img1>img2)] = 1
    res = flags * img1 + (1 - flags) * img2
    res = (255*res).astype(np.uint8)
    return res
效果展示
变暗(Darken)
这种混合模式只是将一层的像素值与另一层相加。如果值大于1(在 RGB 的情况下),则显示白色。“线性减淡”产生相同的视觉效果。由于这总是产生与输入相同或更浅的颜色,因此也称为“加亮”。变体从所有结束值中减去1,低于 0 的值变为黑色;这种模式被称为“加暗”。
代码实现
def Darken(img1,img2):#变暗
    img1 = img1 / 255.0
    img2 = img2 / 255.0
    res = np.zeros_like(img1,dtype=np.float32)
    flags = np.zeros_like(img1)
    flags[np.where(img1<img2)] = 1
    res = flags * img1 + (1 - flags) * img2
    res = (255*res).astype(np.uint8)
    return res
效果展示

深色(Darker Color)
比较混合色和基色的所有通道值的总和并显示值较小的颜色。“深色”不会生成第三种颜色(可以通过“变暗”混合获得),因为它将从基色和混合色中选取最小的通道值来创建结果色。
代码实现
def DarkerColor(img1,img2):#深色
    img1 = img1 / 255.0
    img2 = img2 / 255.0
    res = np.zeros_like(img1,dtype=np.float32)
    flags = np.zeros_like(img1)
    flags[np.where(np.sum(img1,axis=2)<np.sum(img2,axis=2))] = 1
    res = flags * img1 + (1 - flags) * img2
    res = (255*res).astype(np.uint8)
    return res
效果展示
浅色(Lighter Color)
比较混合色和基色的所有通道值的总和并显示值较大的颜色。“浅色”不会生成第三种颜色(可以通过“变亮”混合获得),因为它将从基色和混合色中选取最大的通道值来创建结果色。
代码实现
def LighterColor(img1,img2):#浅色
    img1 = img1 / 255.0
    img2 = img2 / 255.0
    res = np.zeros_like(img1,dtype=np.float32)
    flags = np.zeros_like(img1)
    flags[np.where(np.sum(img1,axis=2)>np.sum(img2,axis=2))] = 1
    res = flags * img1 + (1 - flags) * img2
    res = (255*res).astype(np.uint8)
    return res
效果展示
点光(Pin Light)
根据混合色替换颜色。如果混合色比50%的灰要亮,混合色被替换,比混合色亮的像素不变化。如果混合色比50%的灰要暗比混合色亮的像素被替换,比混合色暗的像素不变化,点光模式对图像增加特殊效果非常有用。
代码实现
def PinLight(img2,img1):#点光
    img1 = img1 / 255.0
    img2 = img2 / 255.0
    res = np.zeros_like(img1,np.float32)
    flags1 = np.zeros_like(img1)
    flags1[np.where(img1<=2*img2-1)] = 1
    res = flags1 * (2 * img2 - 1.0)
    flags2 = np.zeros_like(img1)
    flags2[np.where(img1>=2*img2)] = 1
    res += flags2 * 2 * img2
    flags3 = 1 - np.logical_or(flags1,flags2).astype(np.uint8)
    res += flags3 * img1
    res = (255*res).astype(np.uint8)
    return res
效果展示
实色混合(Hard Mix)
根据绘图颜色与底图颜色的颜色数值相加,当相加的颜色数值大于该颜色模式颜色数值的最大值,混合颜色为最大值;当相加的颜色数值小于该颜色模式颜色数值的最大值,混合颜色为0;当相加的颜色数值等于该颜色模式颜色数值的最大值,混合颜色由底图颜色决定,底图颜色值比绘图颜色的颜色值大,则混合颜色为最大值,相反则为0.实色混合能产生颜色较少、边缘较硬的图像效果。
代码实现
def HardMix(img1,img2):#实色混合
    img1 = img1 / 255.0
    img2 = img2 / 255.0
    res = np.zeros_like(img1,dtype=np.float32)
    res[np.where(img1+img2>=1)] = 1
    res = (255*res).astype(np.uint8)
    return res
效果展示
划分(Divide)
这种混合只是将一层的像素值与另一层相除,但如果颜色为灰色或更少,它对于增亮照片很有用。它对于从照片中去除颜色也很有用。如果您创建的图层是您希望移除的色调的颜色,例如淡蓝色,用于色温太冷的场景分割模式将在生成的合成中将该颜色返回为白色,因为任何值被分割本身等于1(白色)。
代码实现
def Divide(img1,img2):#划分
    img1 = img1 / 255.0
    img2 = img2 / 255.0
    res = img2 / (img1+0.01)
    res = np.minimum(1.0,res)
    res = np.maximum(0.0,res)
    res = (res*255).astype(np.uint8)
    return res
效果展示
差值(Difference)
查看每个通道中的颜色信息,比较基色和混合色,用较亮的像素点的像素值减去较暗的像素点的像素值。与白色混合将使基色反相;与黑色混合则不产生变化。
代码实现
def Difference(img1,img2):#差值
    img1 = img1 / 255.0
    img2 = img2 / 255.0
    res = np.abs(img2-img1)
    res = np.minimum(1.0,res)
    res = np.maximum(0.0,res)
    res = (res*255).astype(np.uint8)
    return res
效果展示
排除(Exclusion)
可生成和差值模式相似的效果,但比差值模式生成的颜色对比度较小,因而颜色较柔和。与白色混合将使基色反相;与黑色混合则不产生变化。
代码实现
def Exclusion(img1,img2):#排除
    img1 = img1 / 255.0
    img2 = img2 / 255.0
    res = (img1 + img2) - (img1*img2)/0.5
    res = np.minimum(1.0,res)
    res = np.maximum(0.0,res)
    res = (res*255).astype(np.uint8)
    return res
效果展示
减去(Subtract)
是将原始图像与混合图像相对应的像素提取出来并将它们相减。
代码实现
def Subtract(img1,img2):#减去
    img1 = img1 / 255.0
    img2 = img2 / 255.0
    res = img2 - img1
    res = np.minimum(1.0,res)
    res = np.maximum(0.0,res)
    res = (res*255).astype(np.uint8)
    return res
效果展示
色相(Hue)
是采用基色的亮度、饱和度以及混合色的色相来创建最终色。
代码实现
def Hue(img1, img2):#色相
    img1 = cv2.cvtColor(img1,cv2.COLOR_BGR2HSV)
    img2 = cv2.cvtColor(img2,cv2.COLOR_BGR2HSV)
    img2[:,:,0] = img1[:,:,0]
    res = cv2.cvtColor(img2,cv2.COLOR_HSV2BGR)
    return res
效果展示
饱和度(Saturation)
是采用基色的亮度、色相以及混合色的饱和度来创建最终色。如果混合色的饱和度为0,则原图没有变化。
代码实现
def Saturation(img1,img2):#饱和度
    img1 = cv2.cvtColor(img1,cv2.COLOR_BGR2HSV)
    img2 = cv2.cvtColor(img2,cv2.COLOR_BGR2HSV)
    img2[:,:,1] = img1[:,:,1]
    res = cv2.cvtColor(img2,cv2.COLOR_HSV2BGR)
    return res
效果展示
颜色(Color)
是采用基色的亮度以及混合色的色相、饱和度来创建最终色。它可保护原图的灰阶层次,对于图像的色彩微调、给单色和彩色图像着色都非常有用。
代码实现
def Color(img1,img2):#颜色
    img1 = cv2.cvtColor(img1,cv2.COLOR_BGR2HSV)
    img2 = cv2.cvtColor(img2,cv2.COLOR_BGR2HSV)
    img2[:,:,0] = img1[:,:,0]
    img2[:,:,1] = img1[:,:,1]
    res = cv2.cvtColor(img2,cv2.COLOR_HSV2BGR)
    return res
效果展示
明度(Luminosity)
是采用基色的色相和饱和度以及混合色的亮度来创建最终色。
代码实现
def Luminosity(img1,img2):#明度
    img1 = cv2.cvtColor(img1,cv2.COLOR_BGR2HSV)
    img2 = cv2.cvtColor(img2,cv2.COLOR_BGR2HSV)
    img2[:,:,2] = img1[:,:,2]
    res = cv2.cvtColor(img2,cv2.COLOR_HSV2BGR)
    return res
效果展示
参考文献
- Blend modes. https://en.wikipedia.org/wiki/Blend_modes[OL]. Wikipedia, 2021.
- Author:Quanfita
- URL:https://quanfita.cn/article/image_process_3
- Copyright:All articles in this blog, except for special statements, adopt BY-NC-SA agreement. Please indicate the source!
Relate Posts